UniMake
WEEKONE

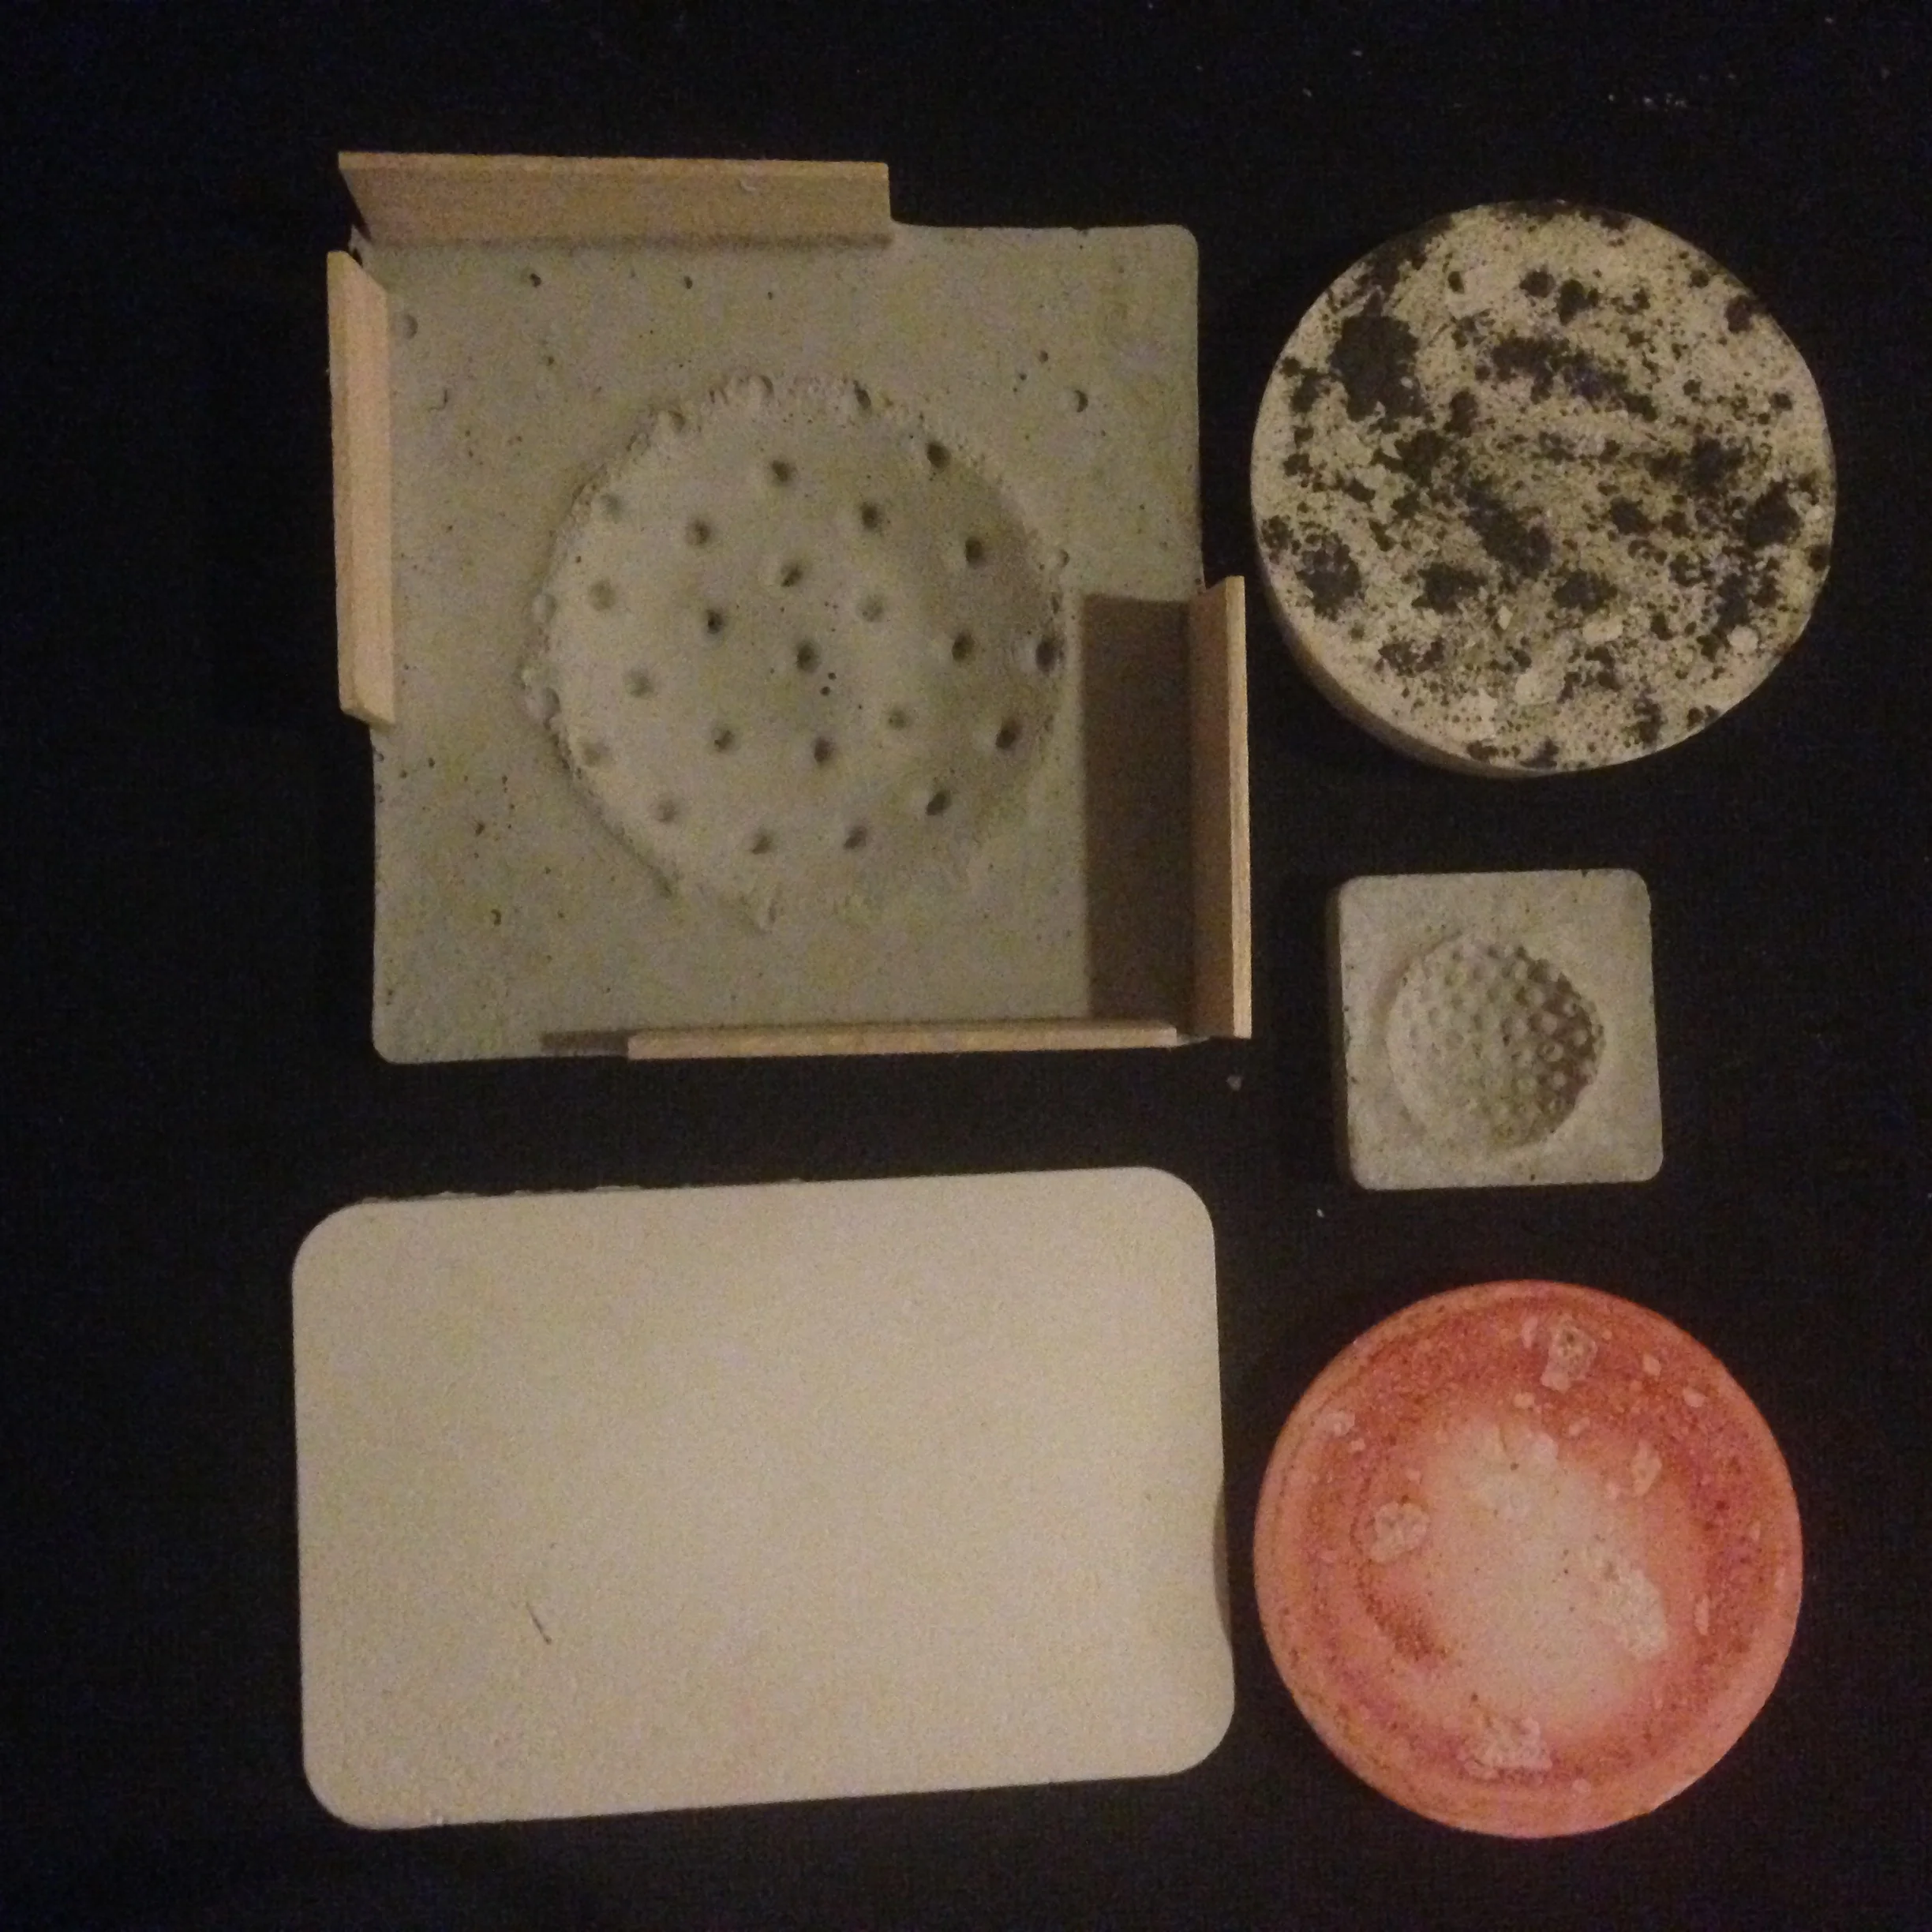
PoursONEandTWO
Process
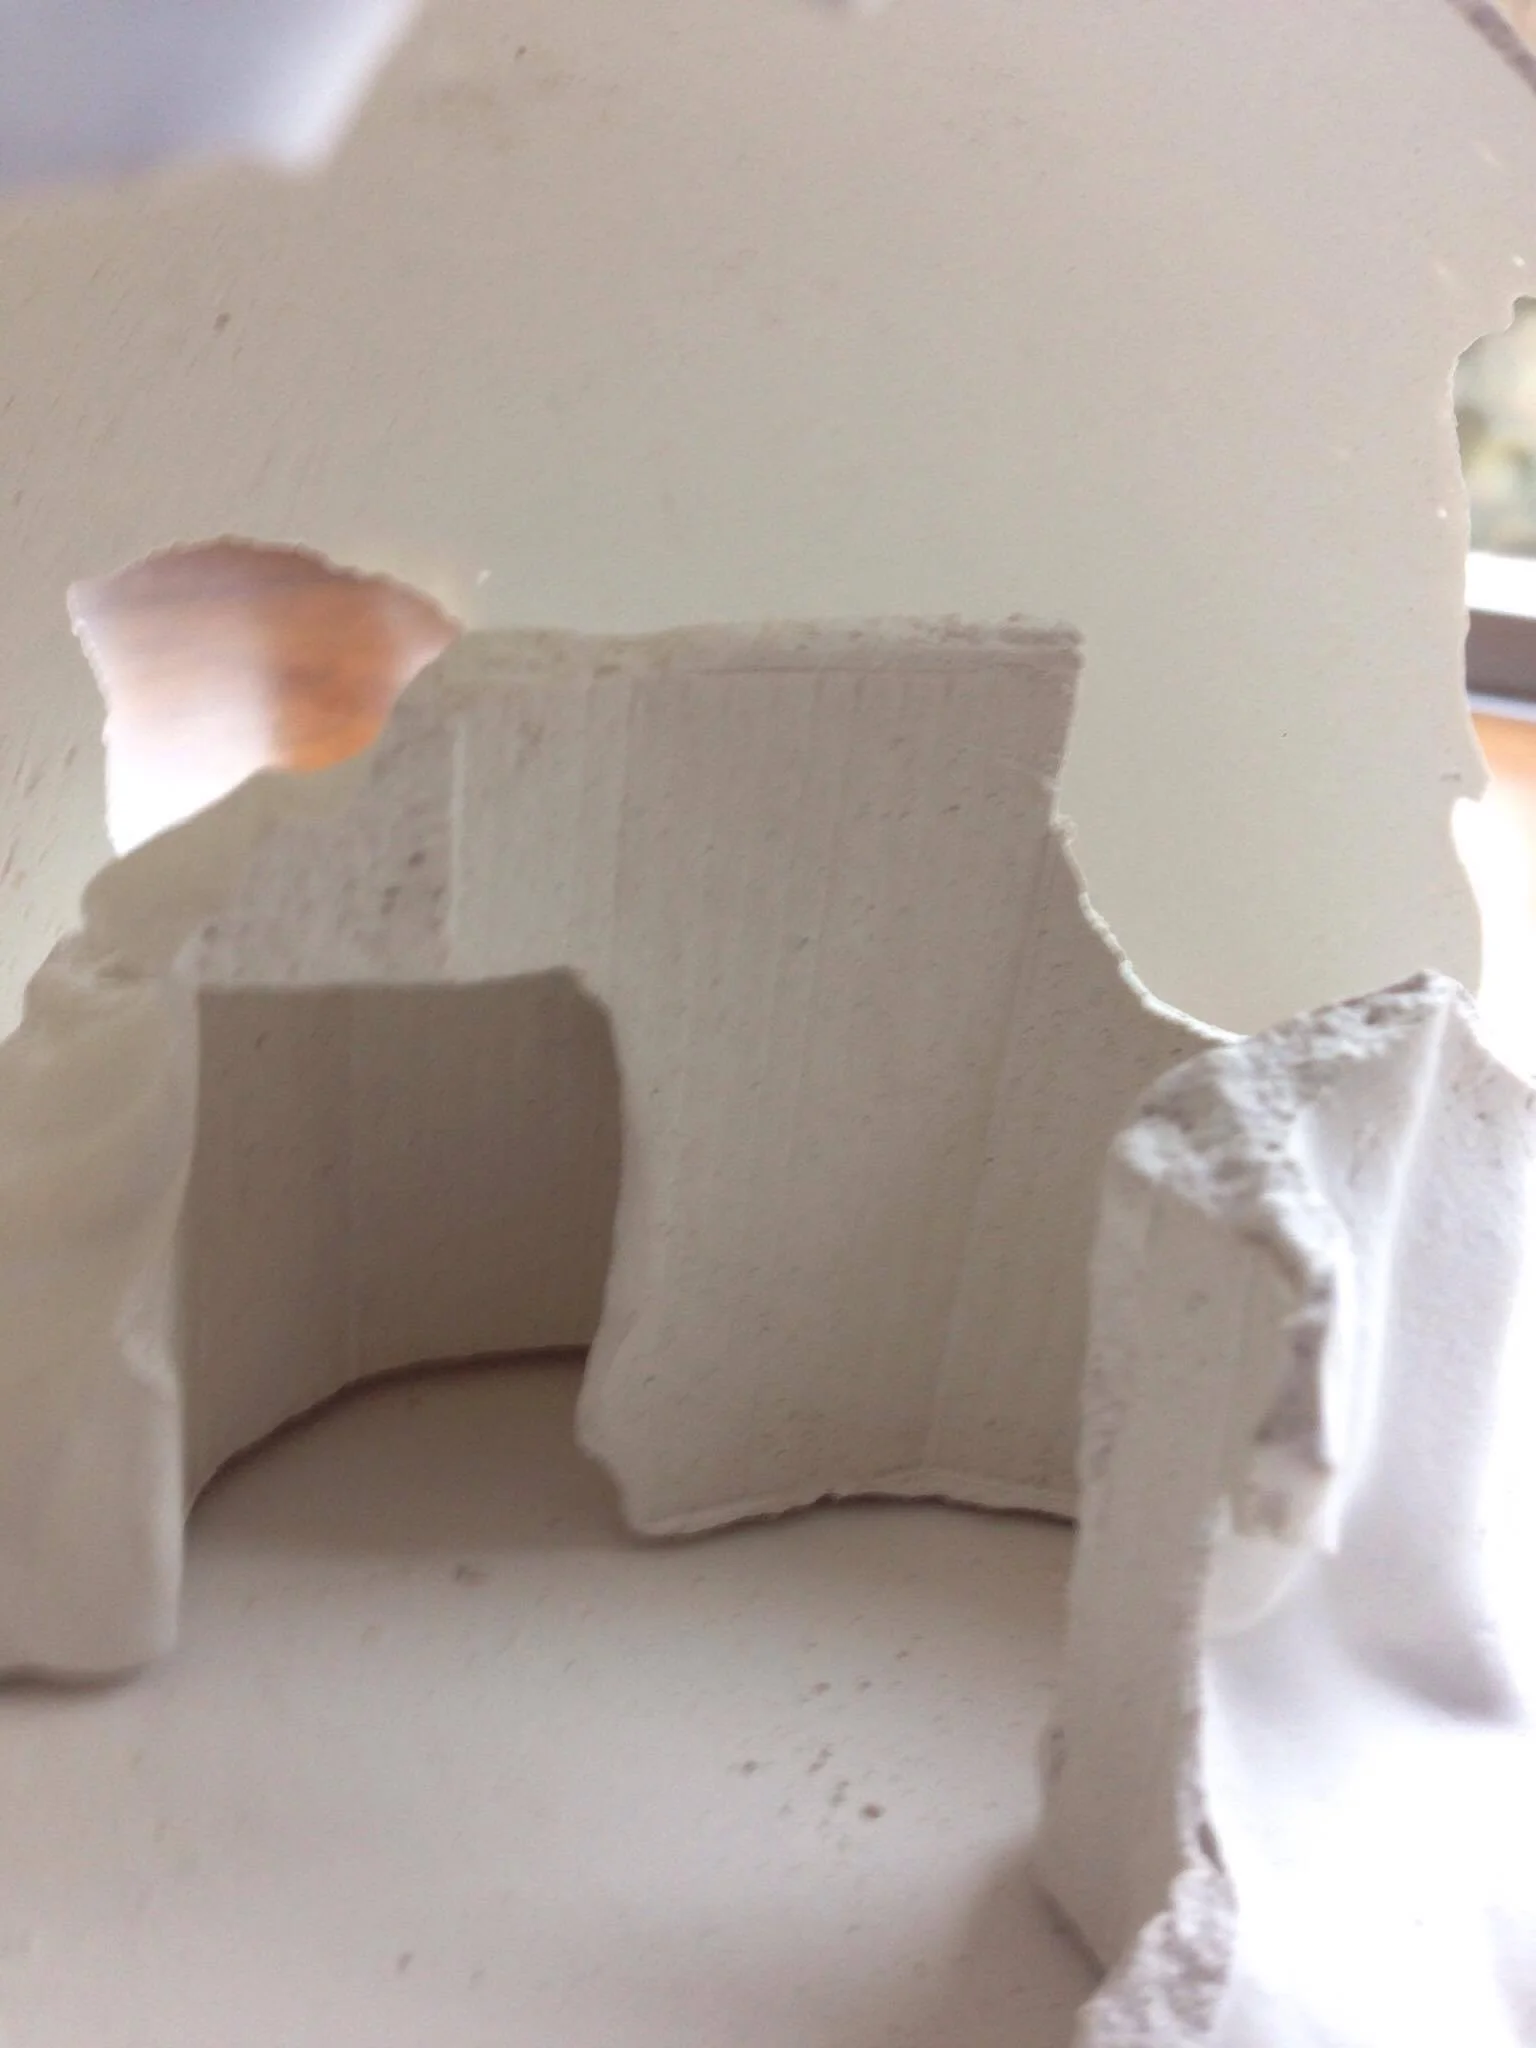
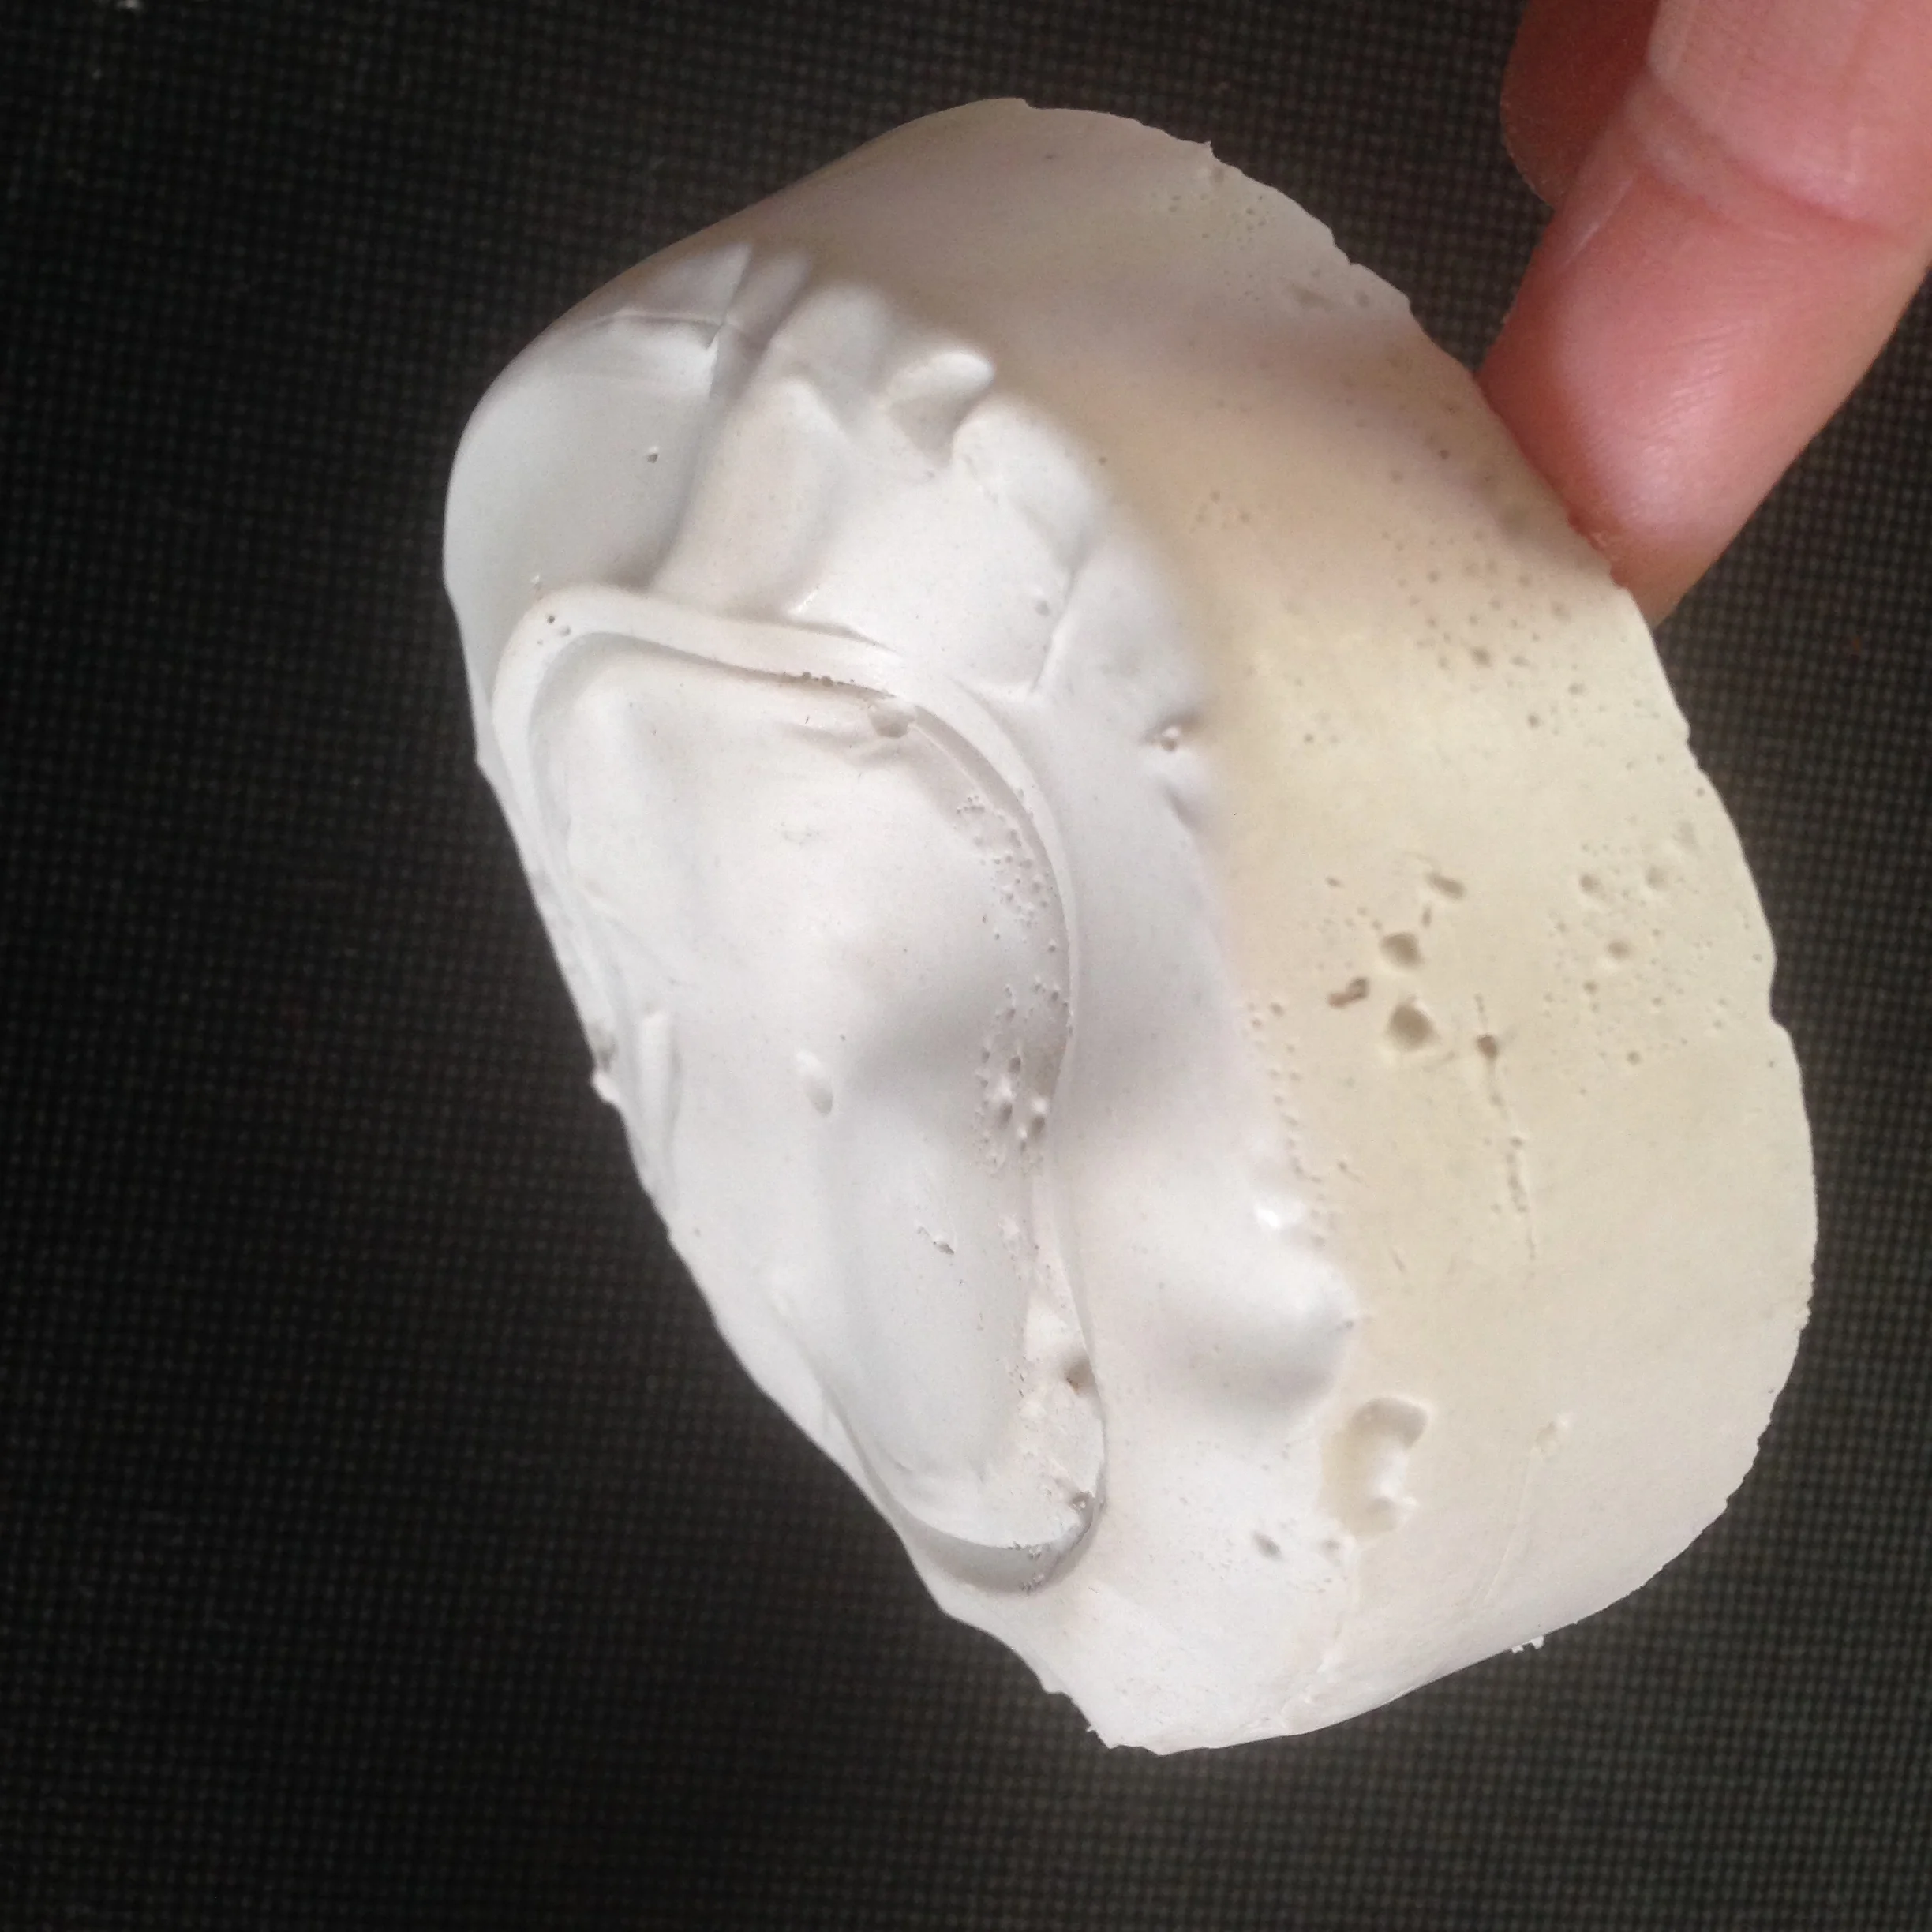
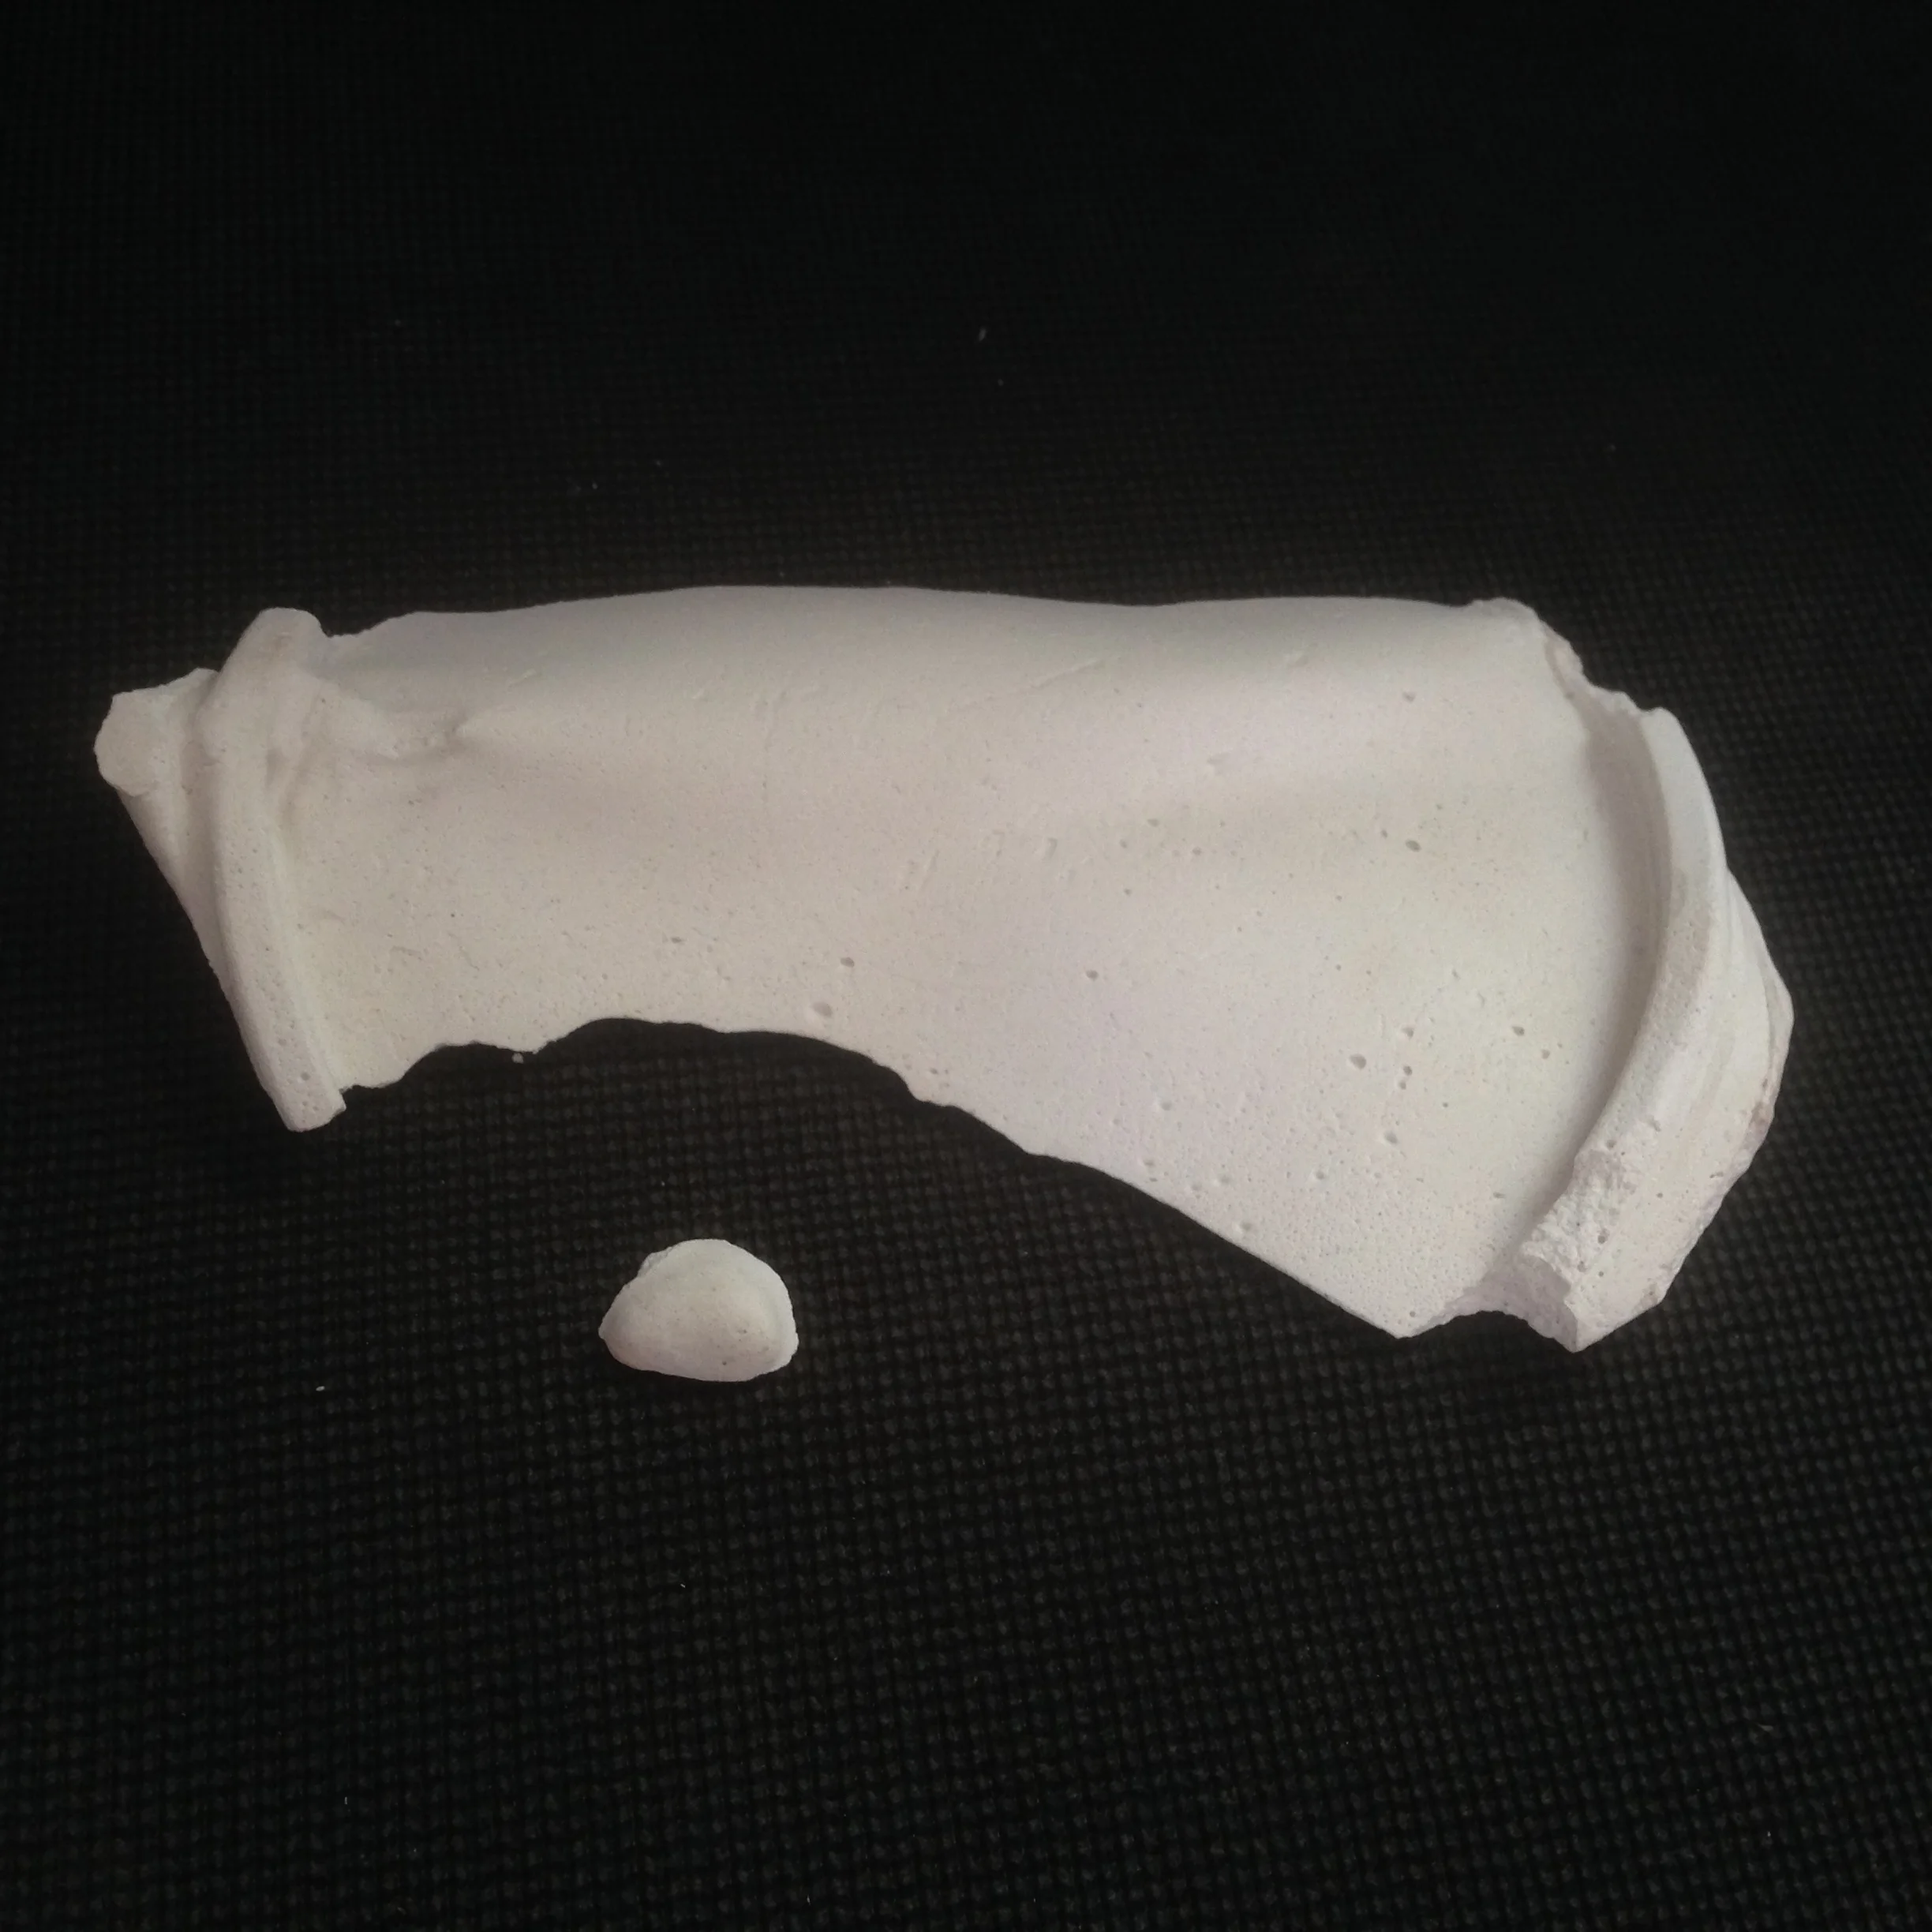
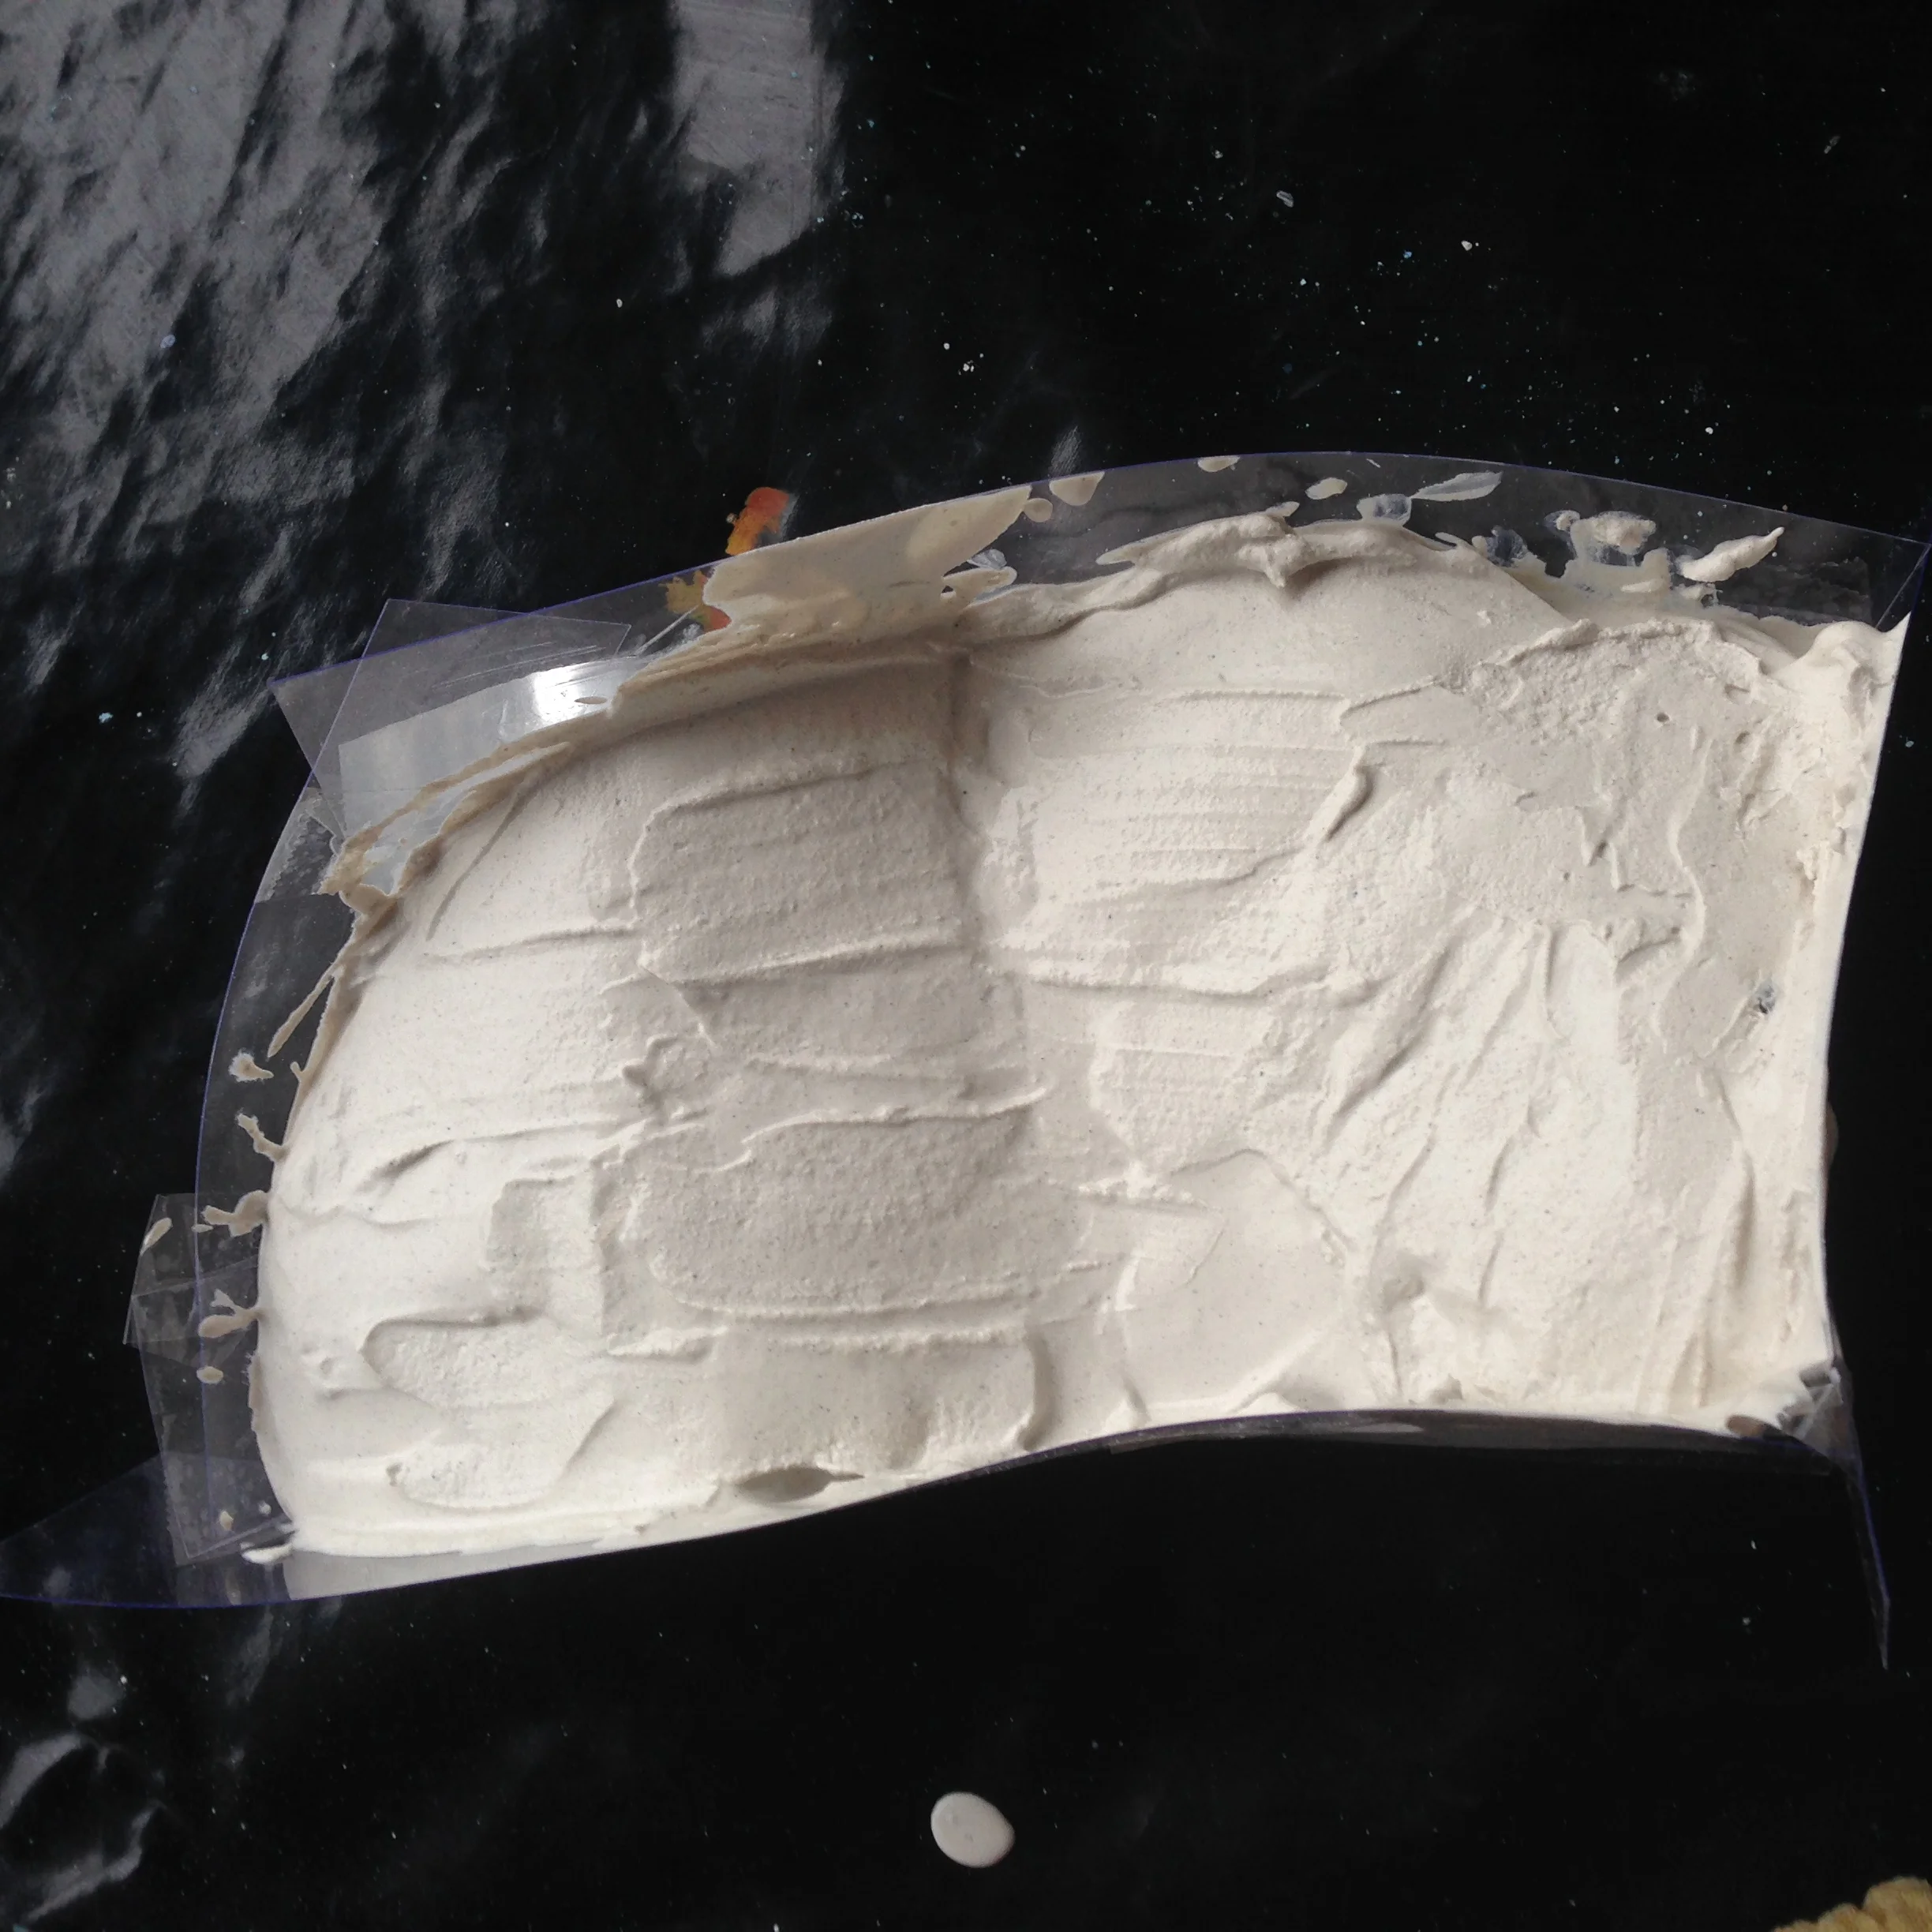
PourONE: Learning process and experimenting with consistency (1:0.65), curved forms and materiality
PourTWO: Experimenting with consistency (1:0.7), colour, thickness


Form
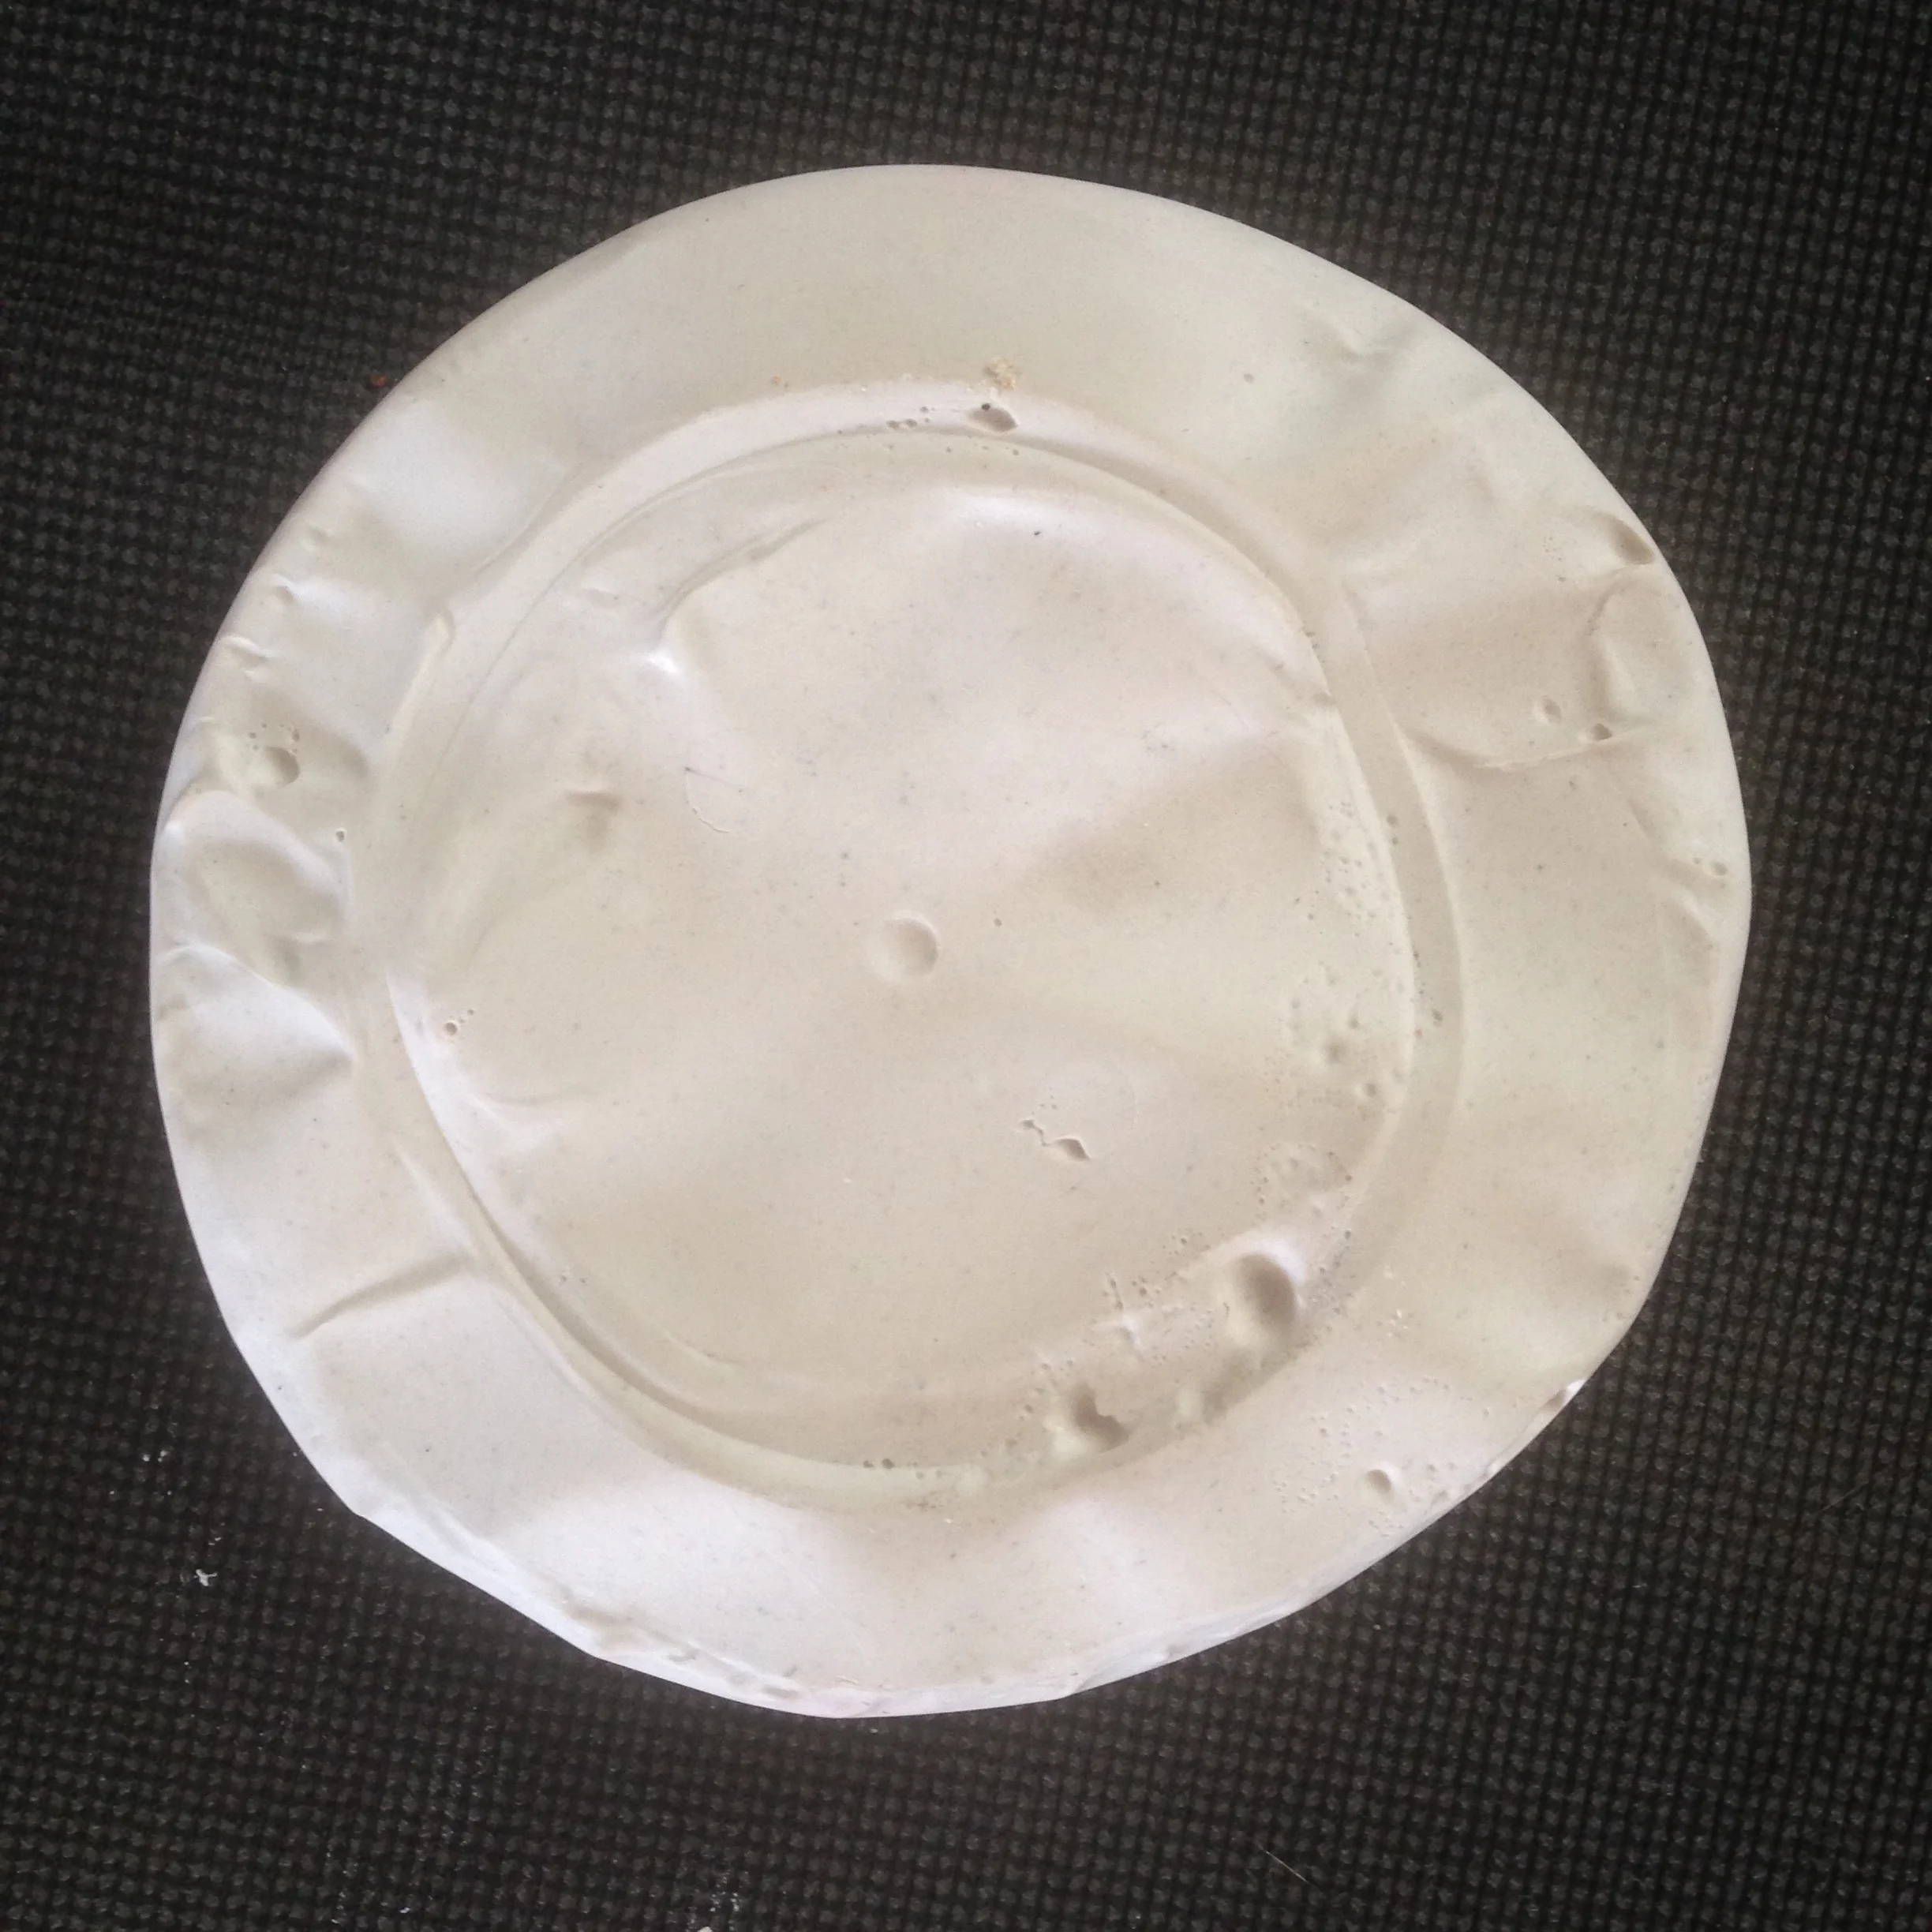

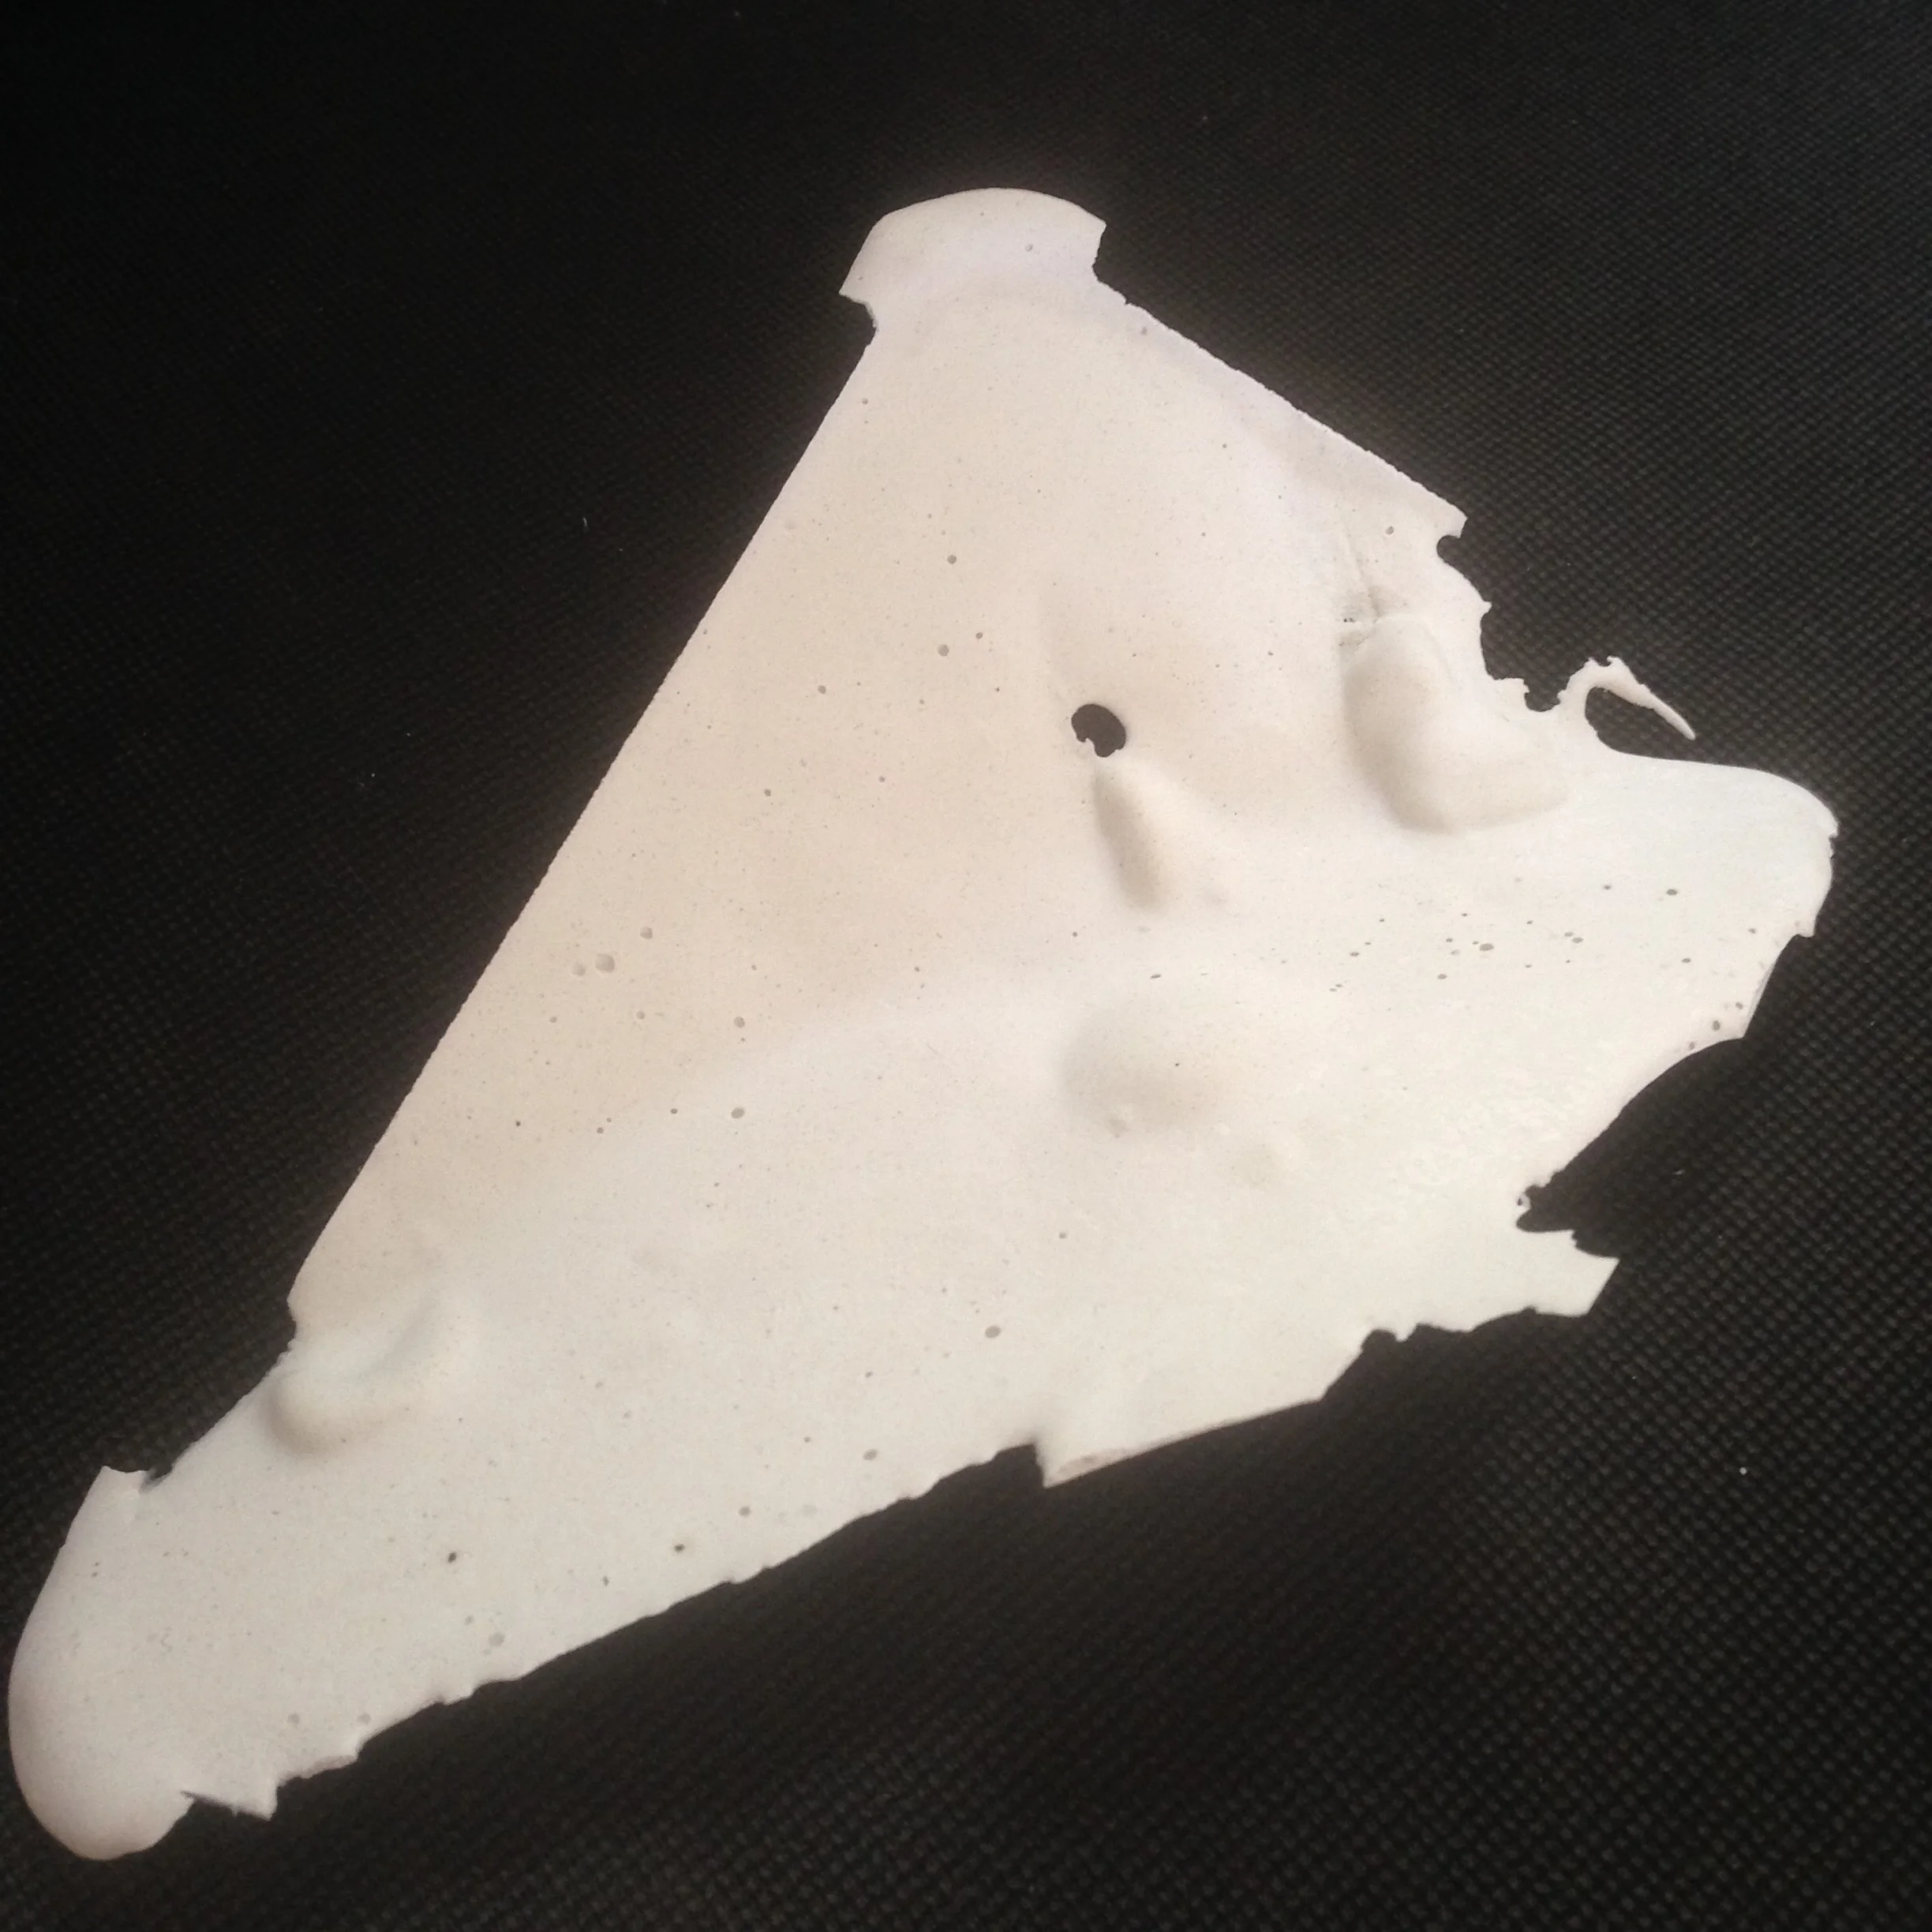


Colour and Material


Learning and Next Steps
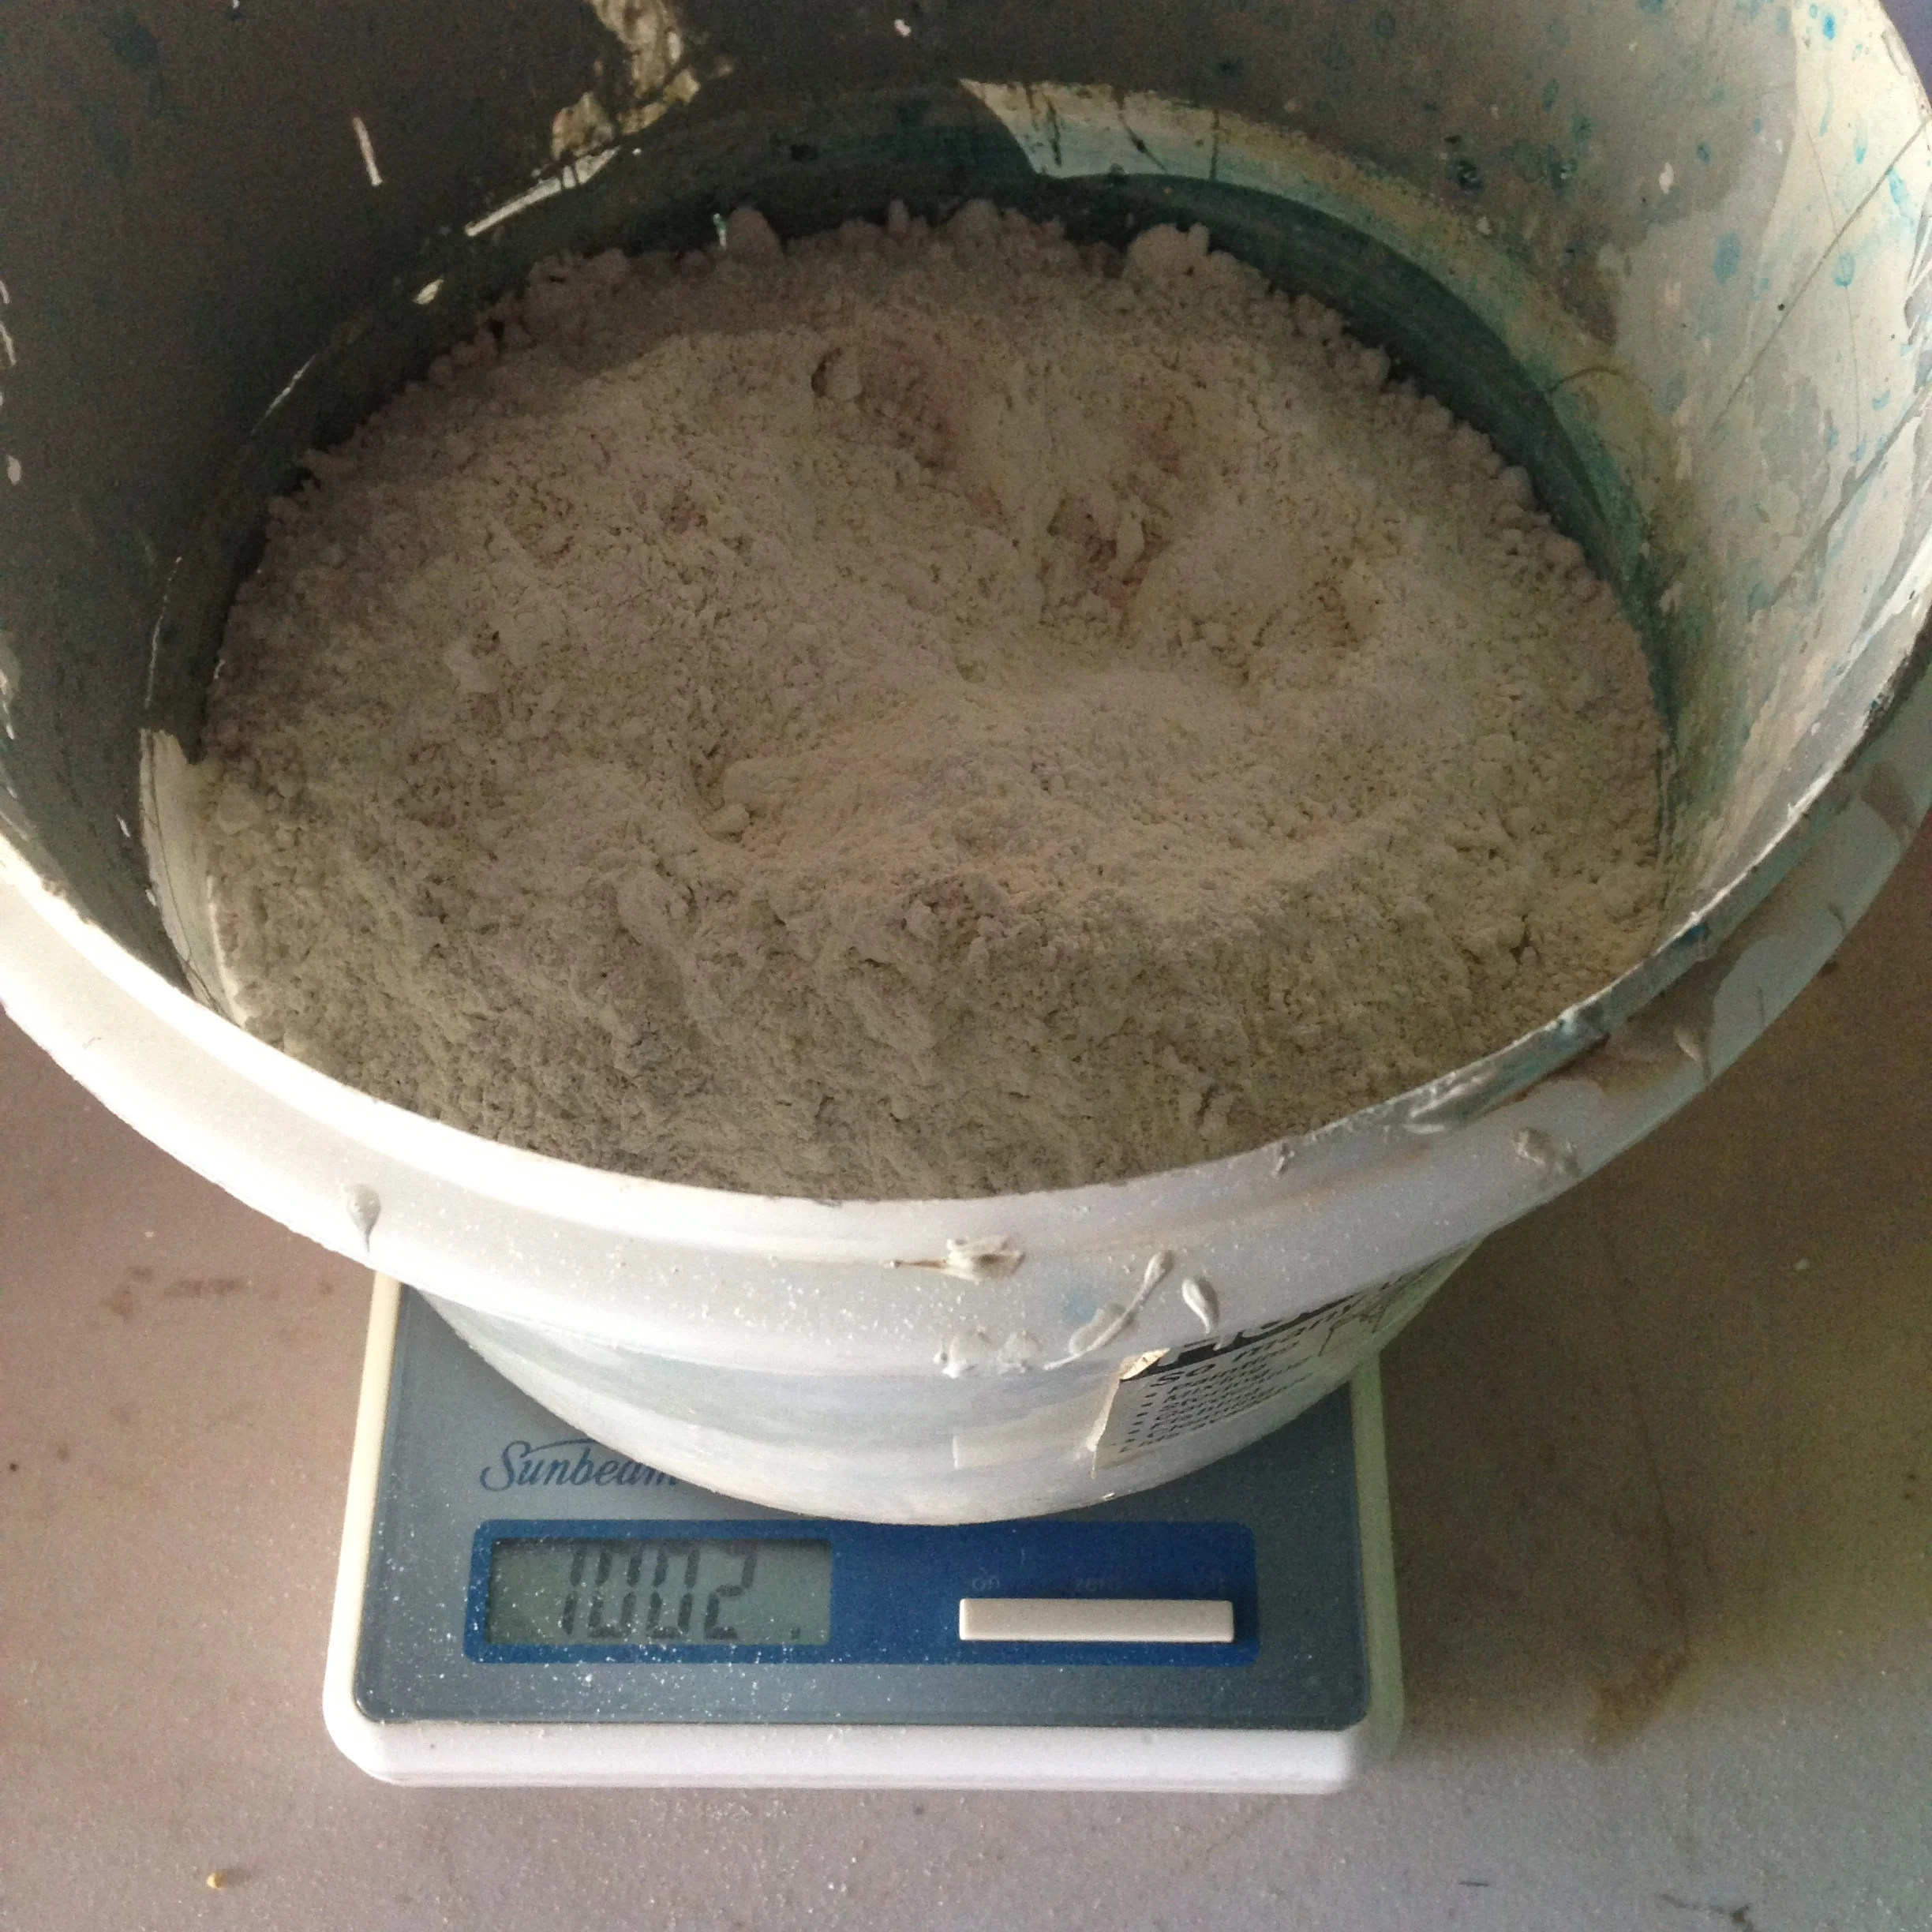
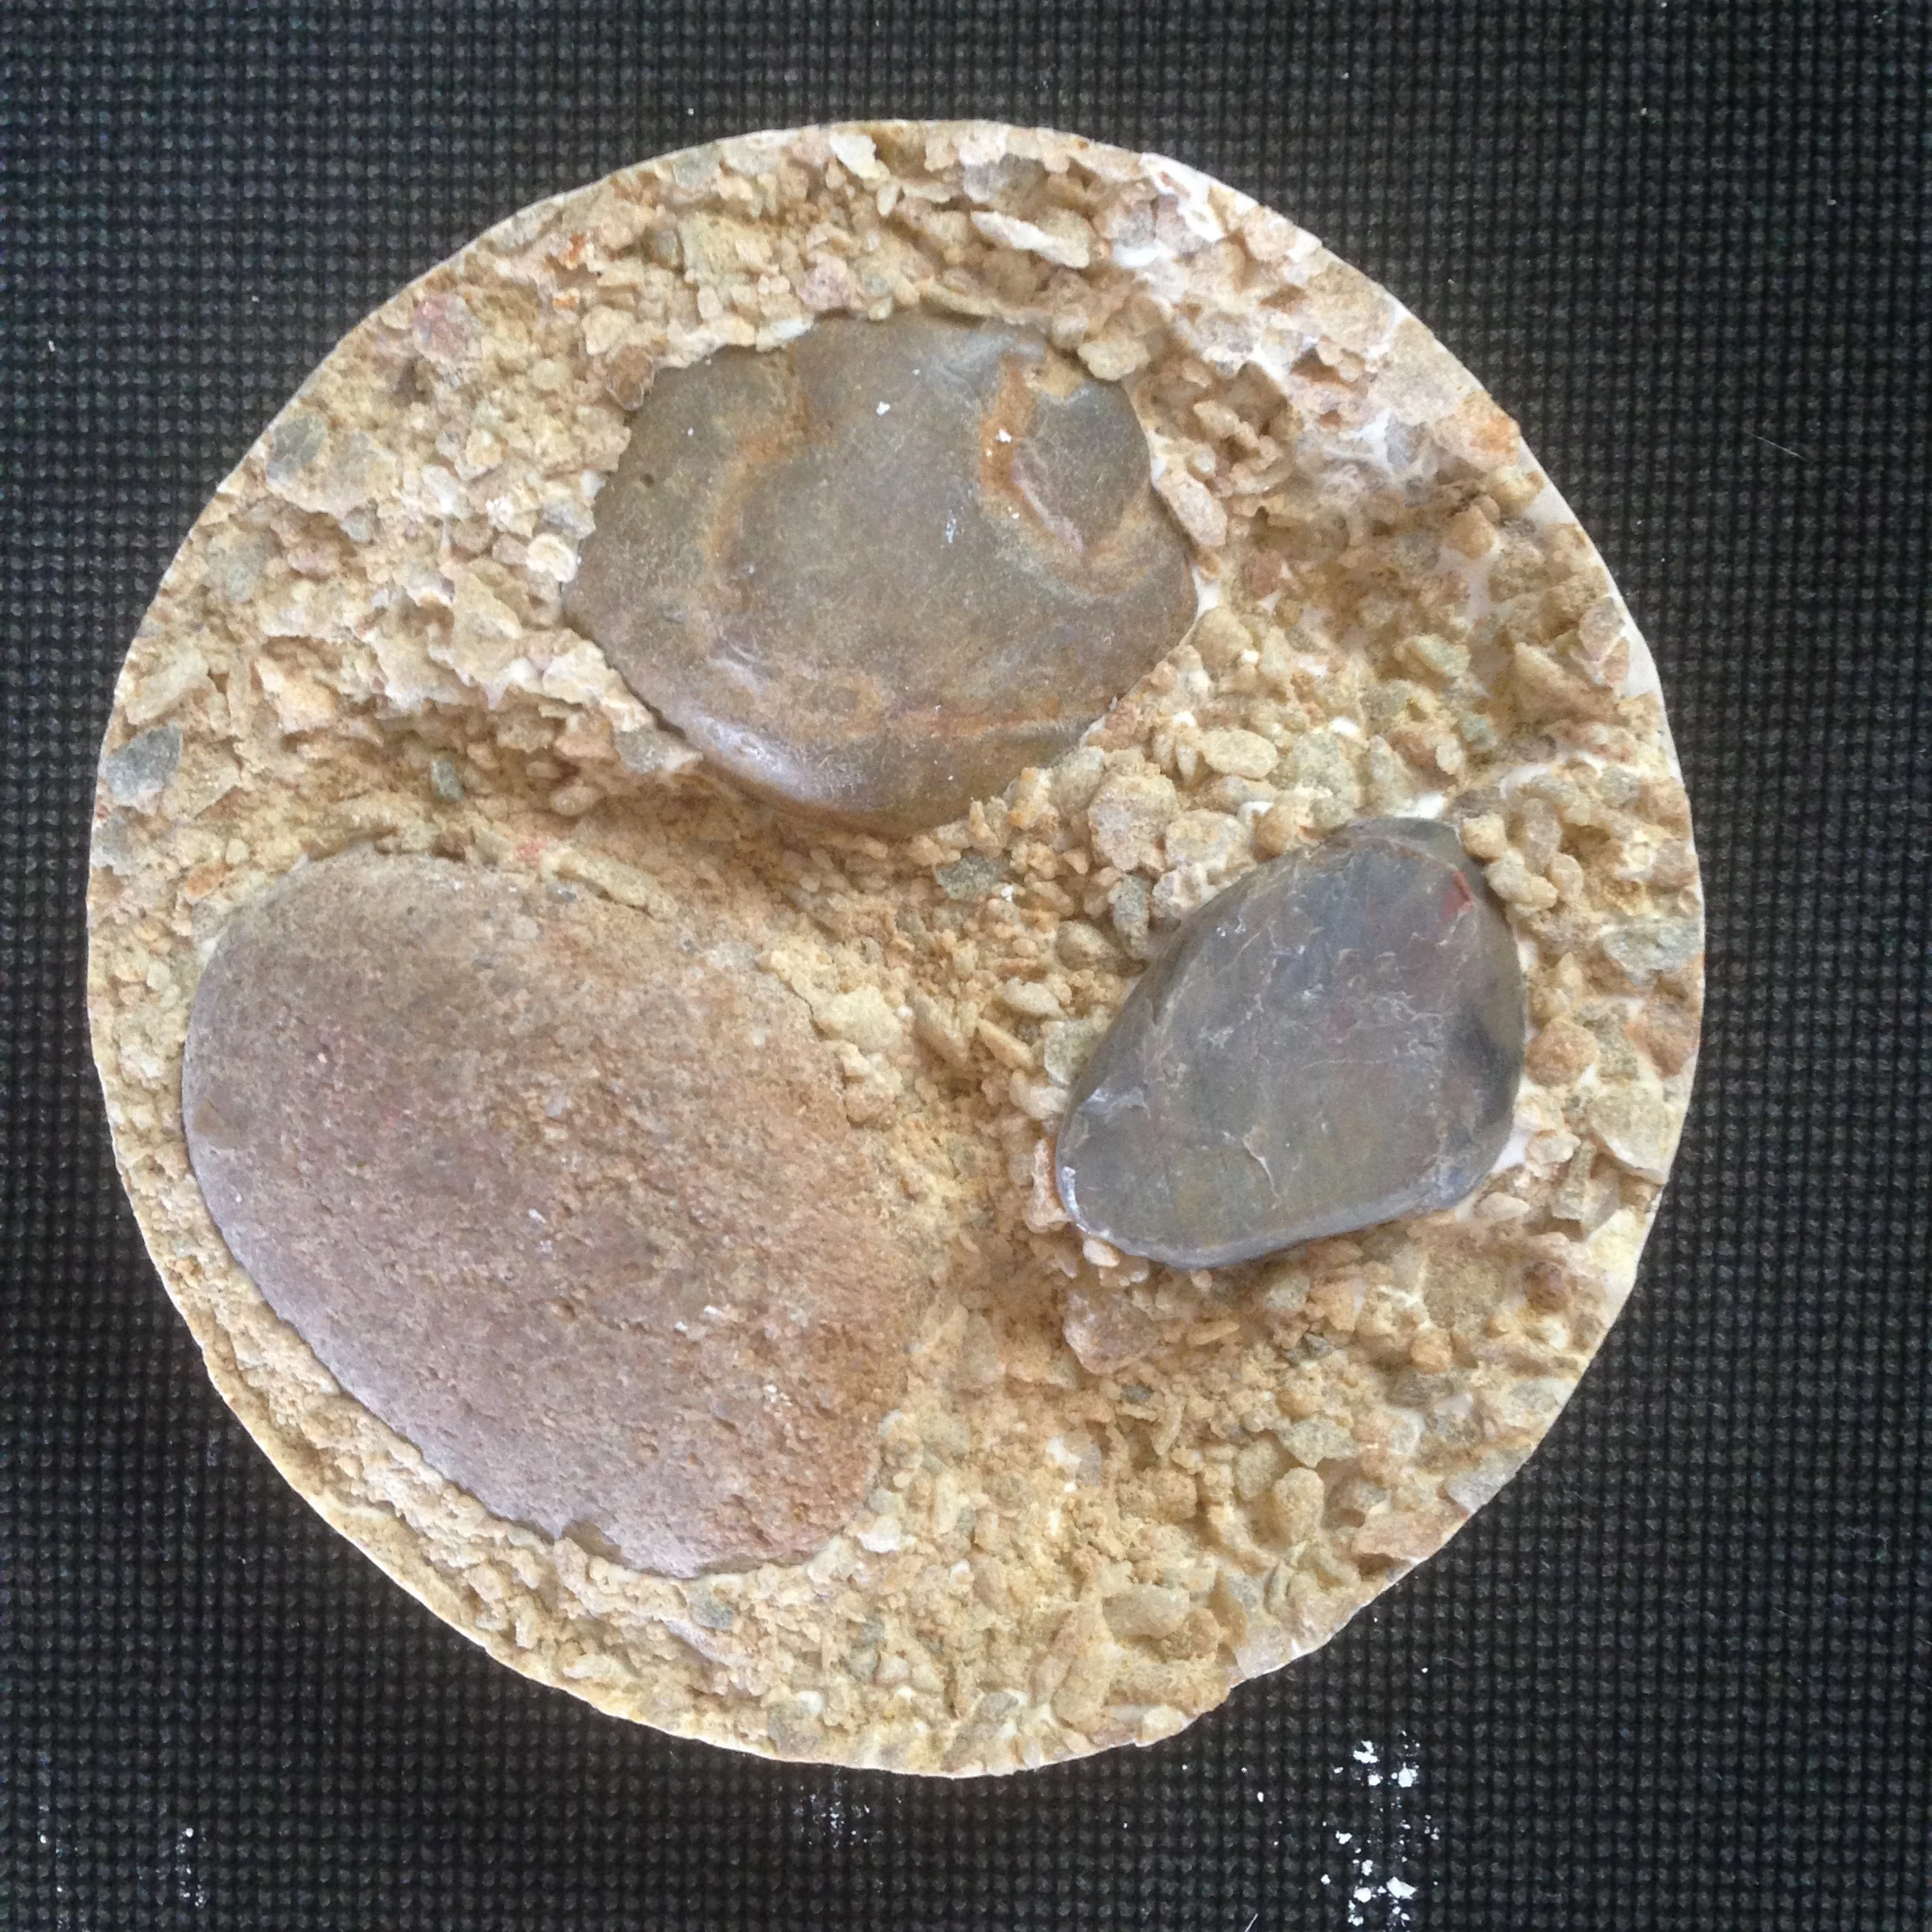
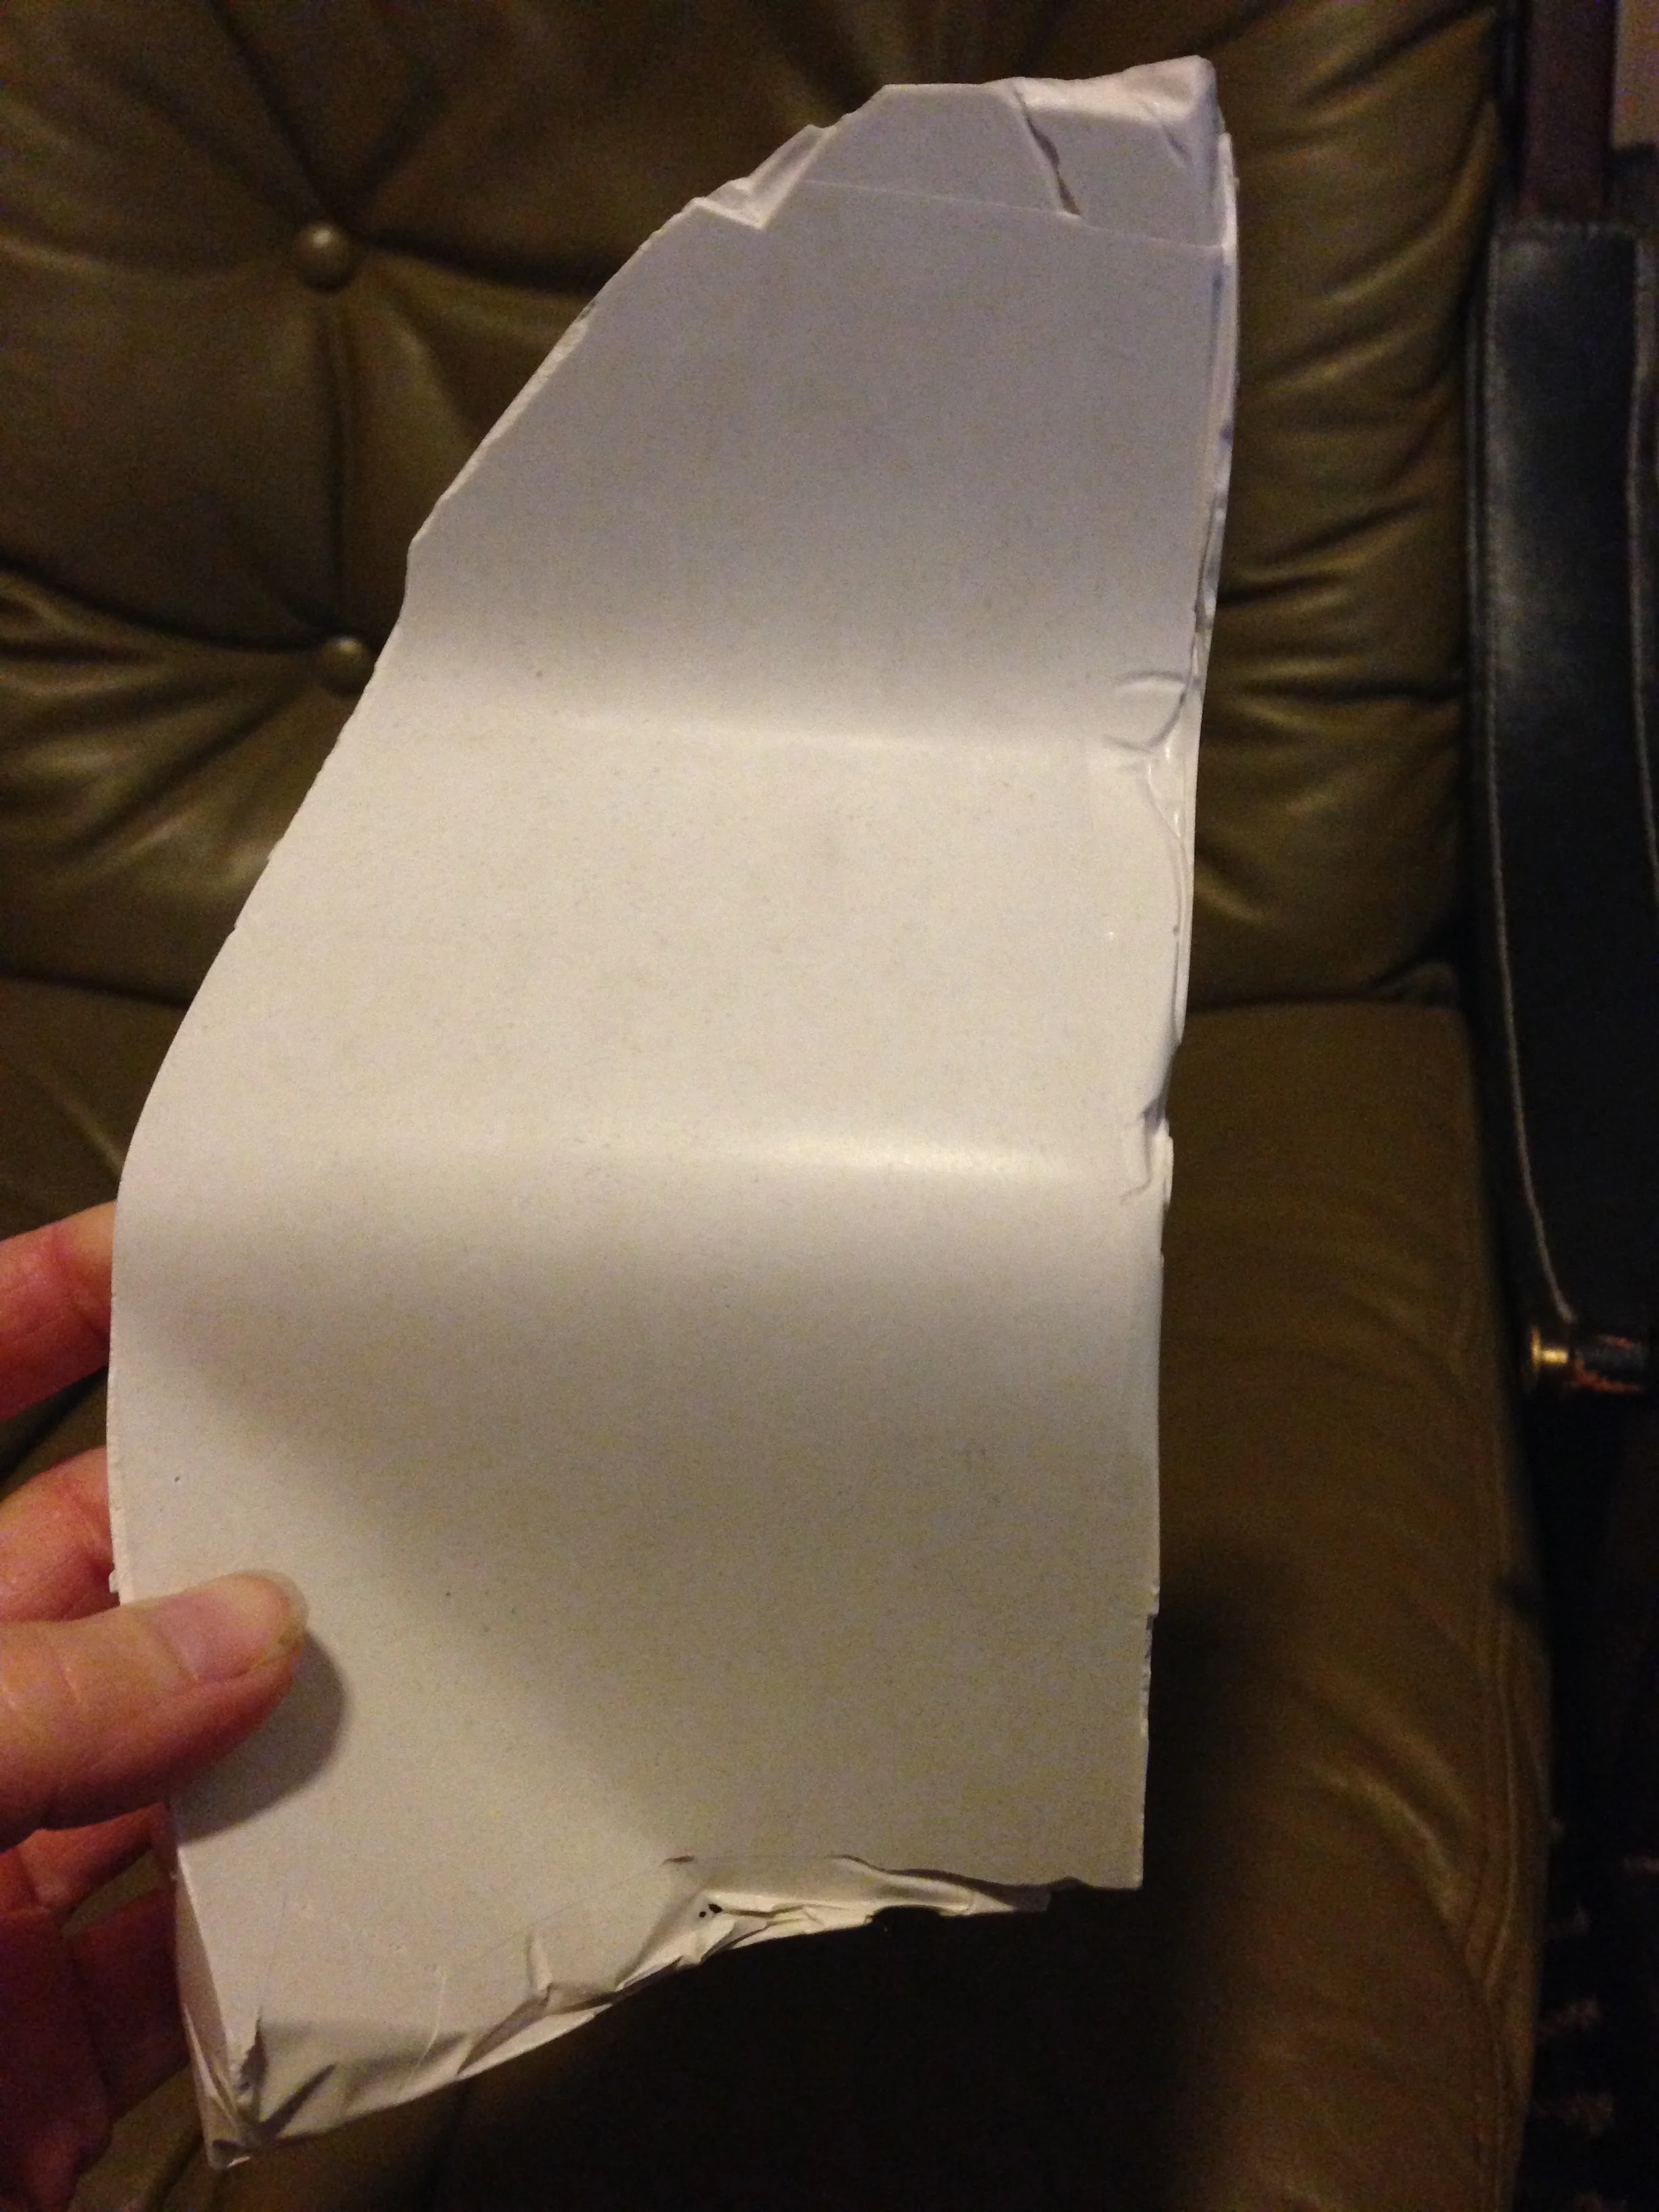
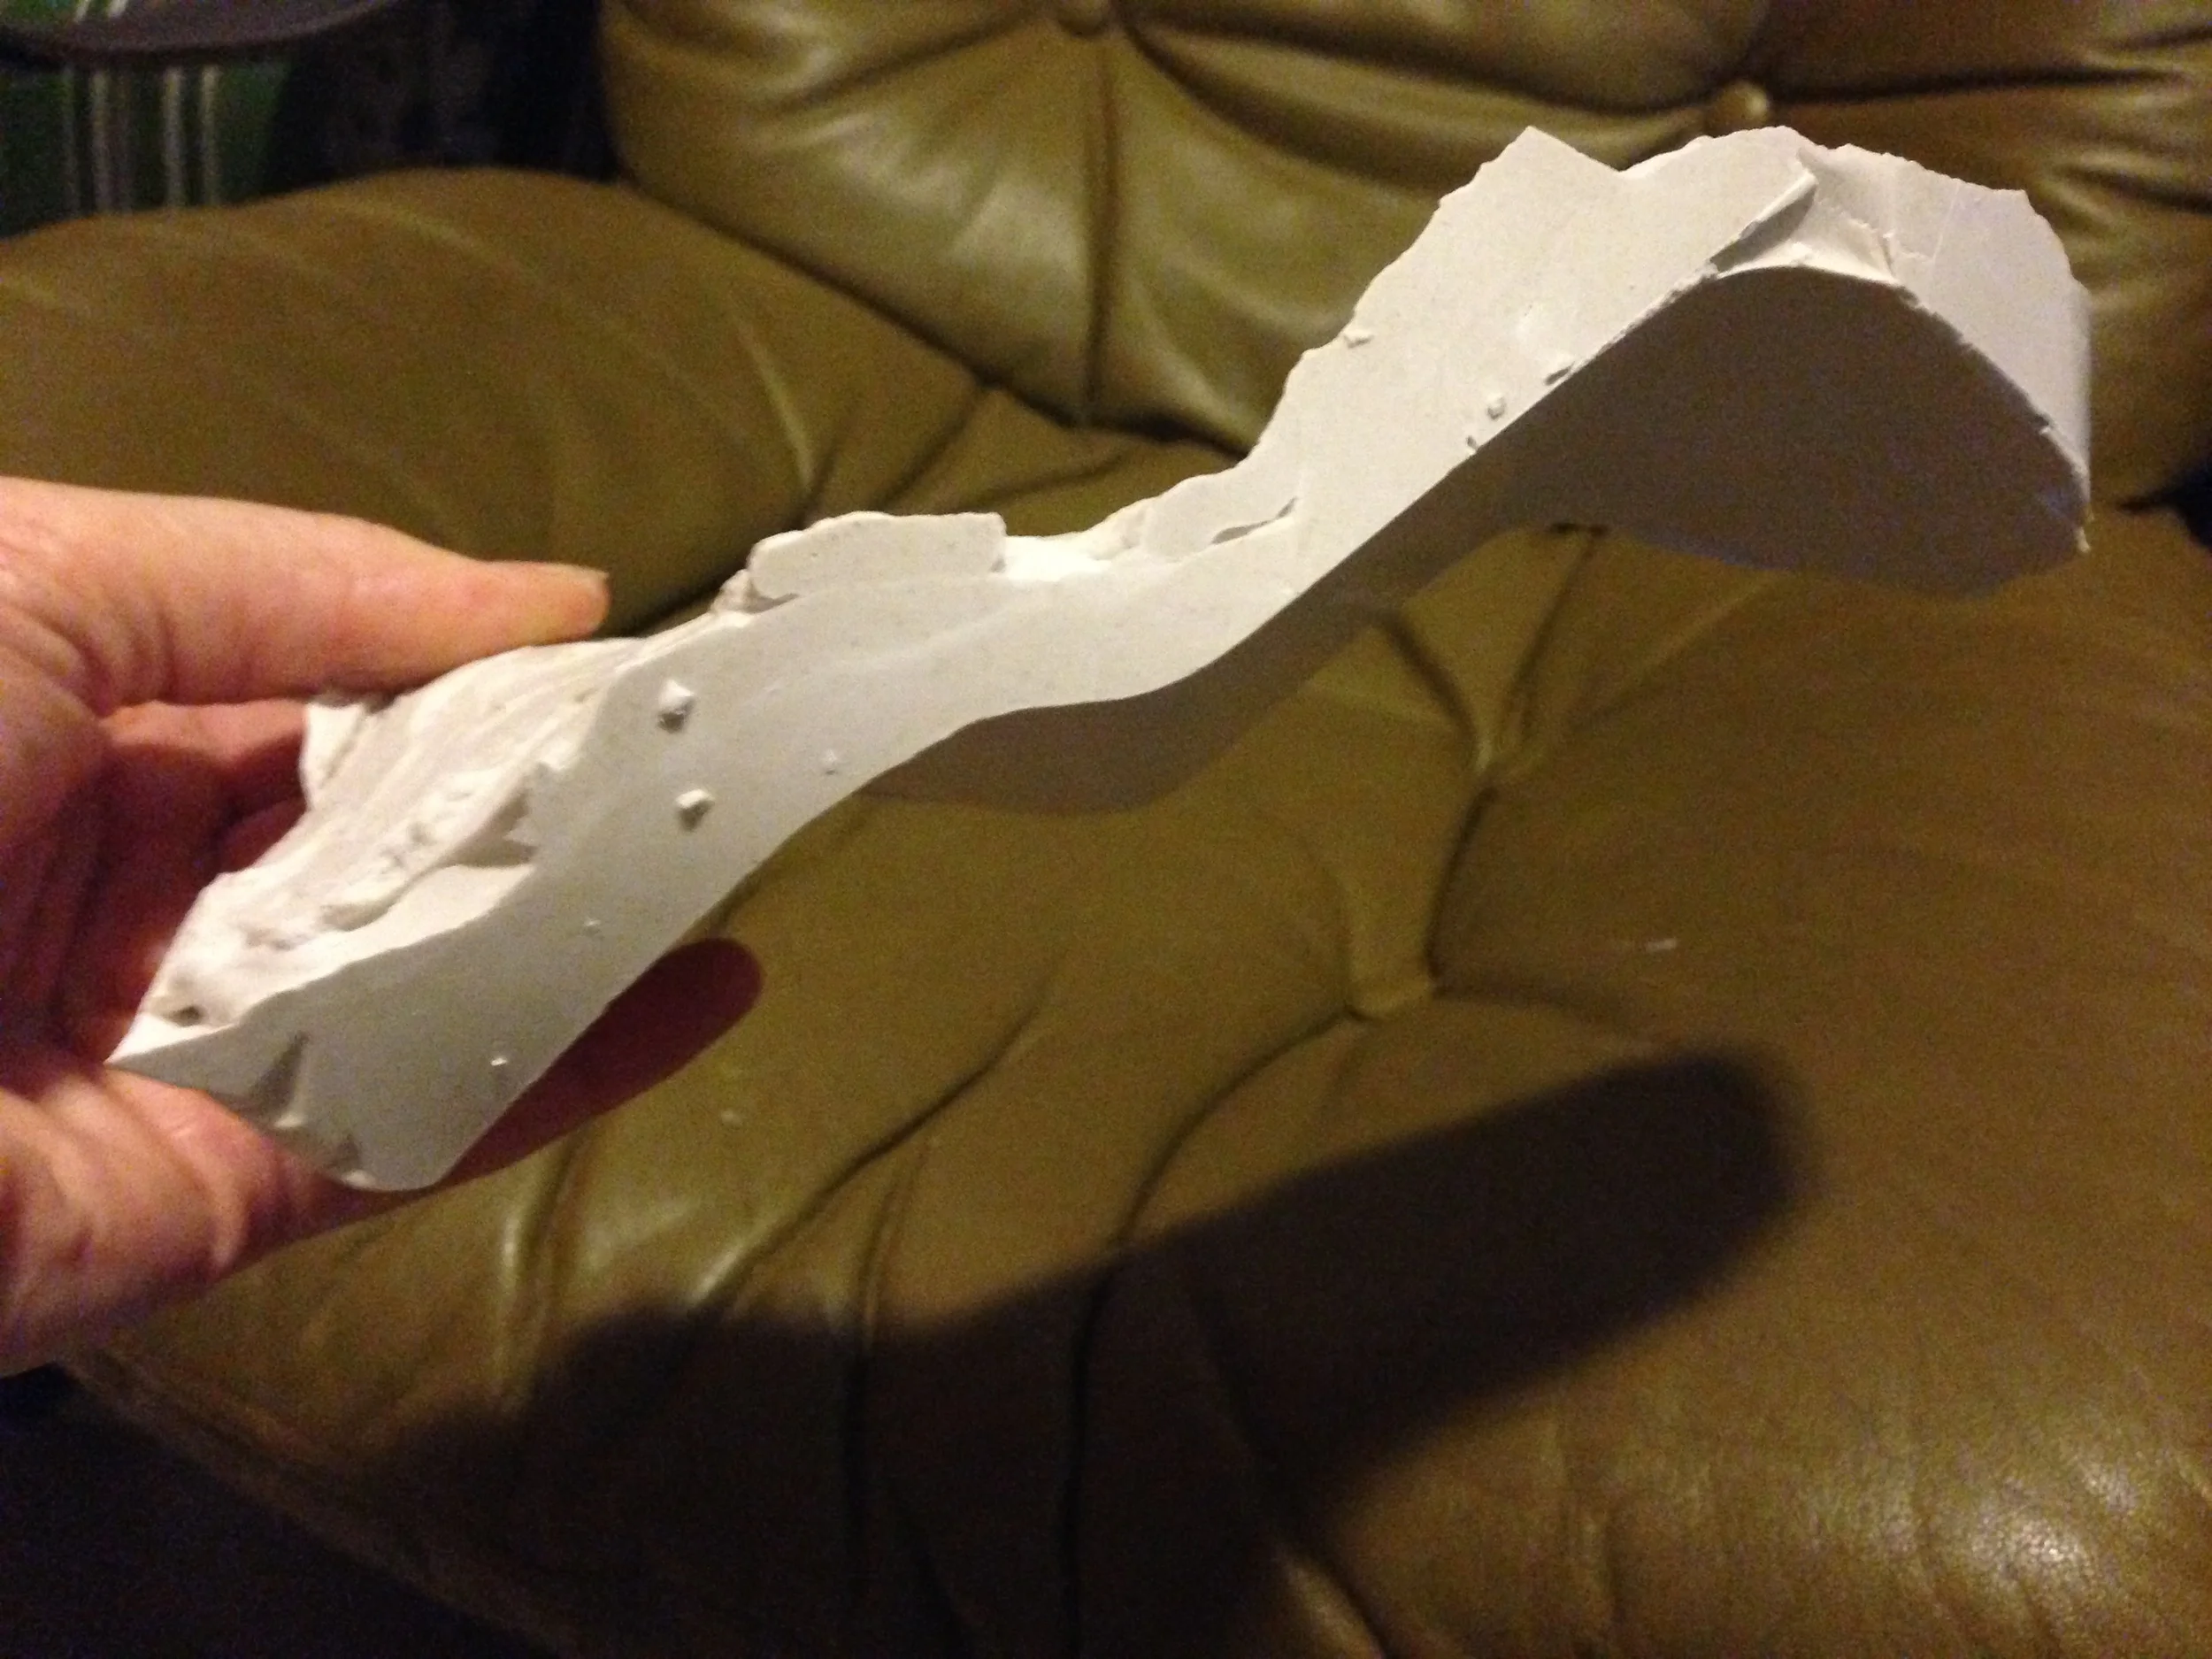
- It's possible to scrape, mould and slice the pour as it's setting.
- Pour as low and slow as possible to minimise bubbles.
- Design is essential to inform next pour experiments (to include attaching roof to walls).
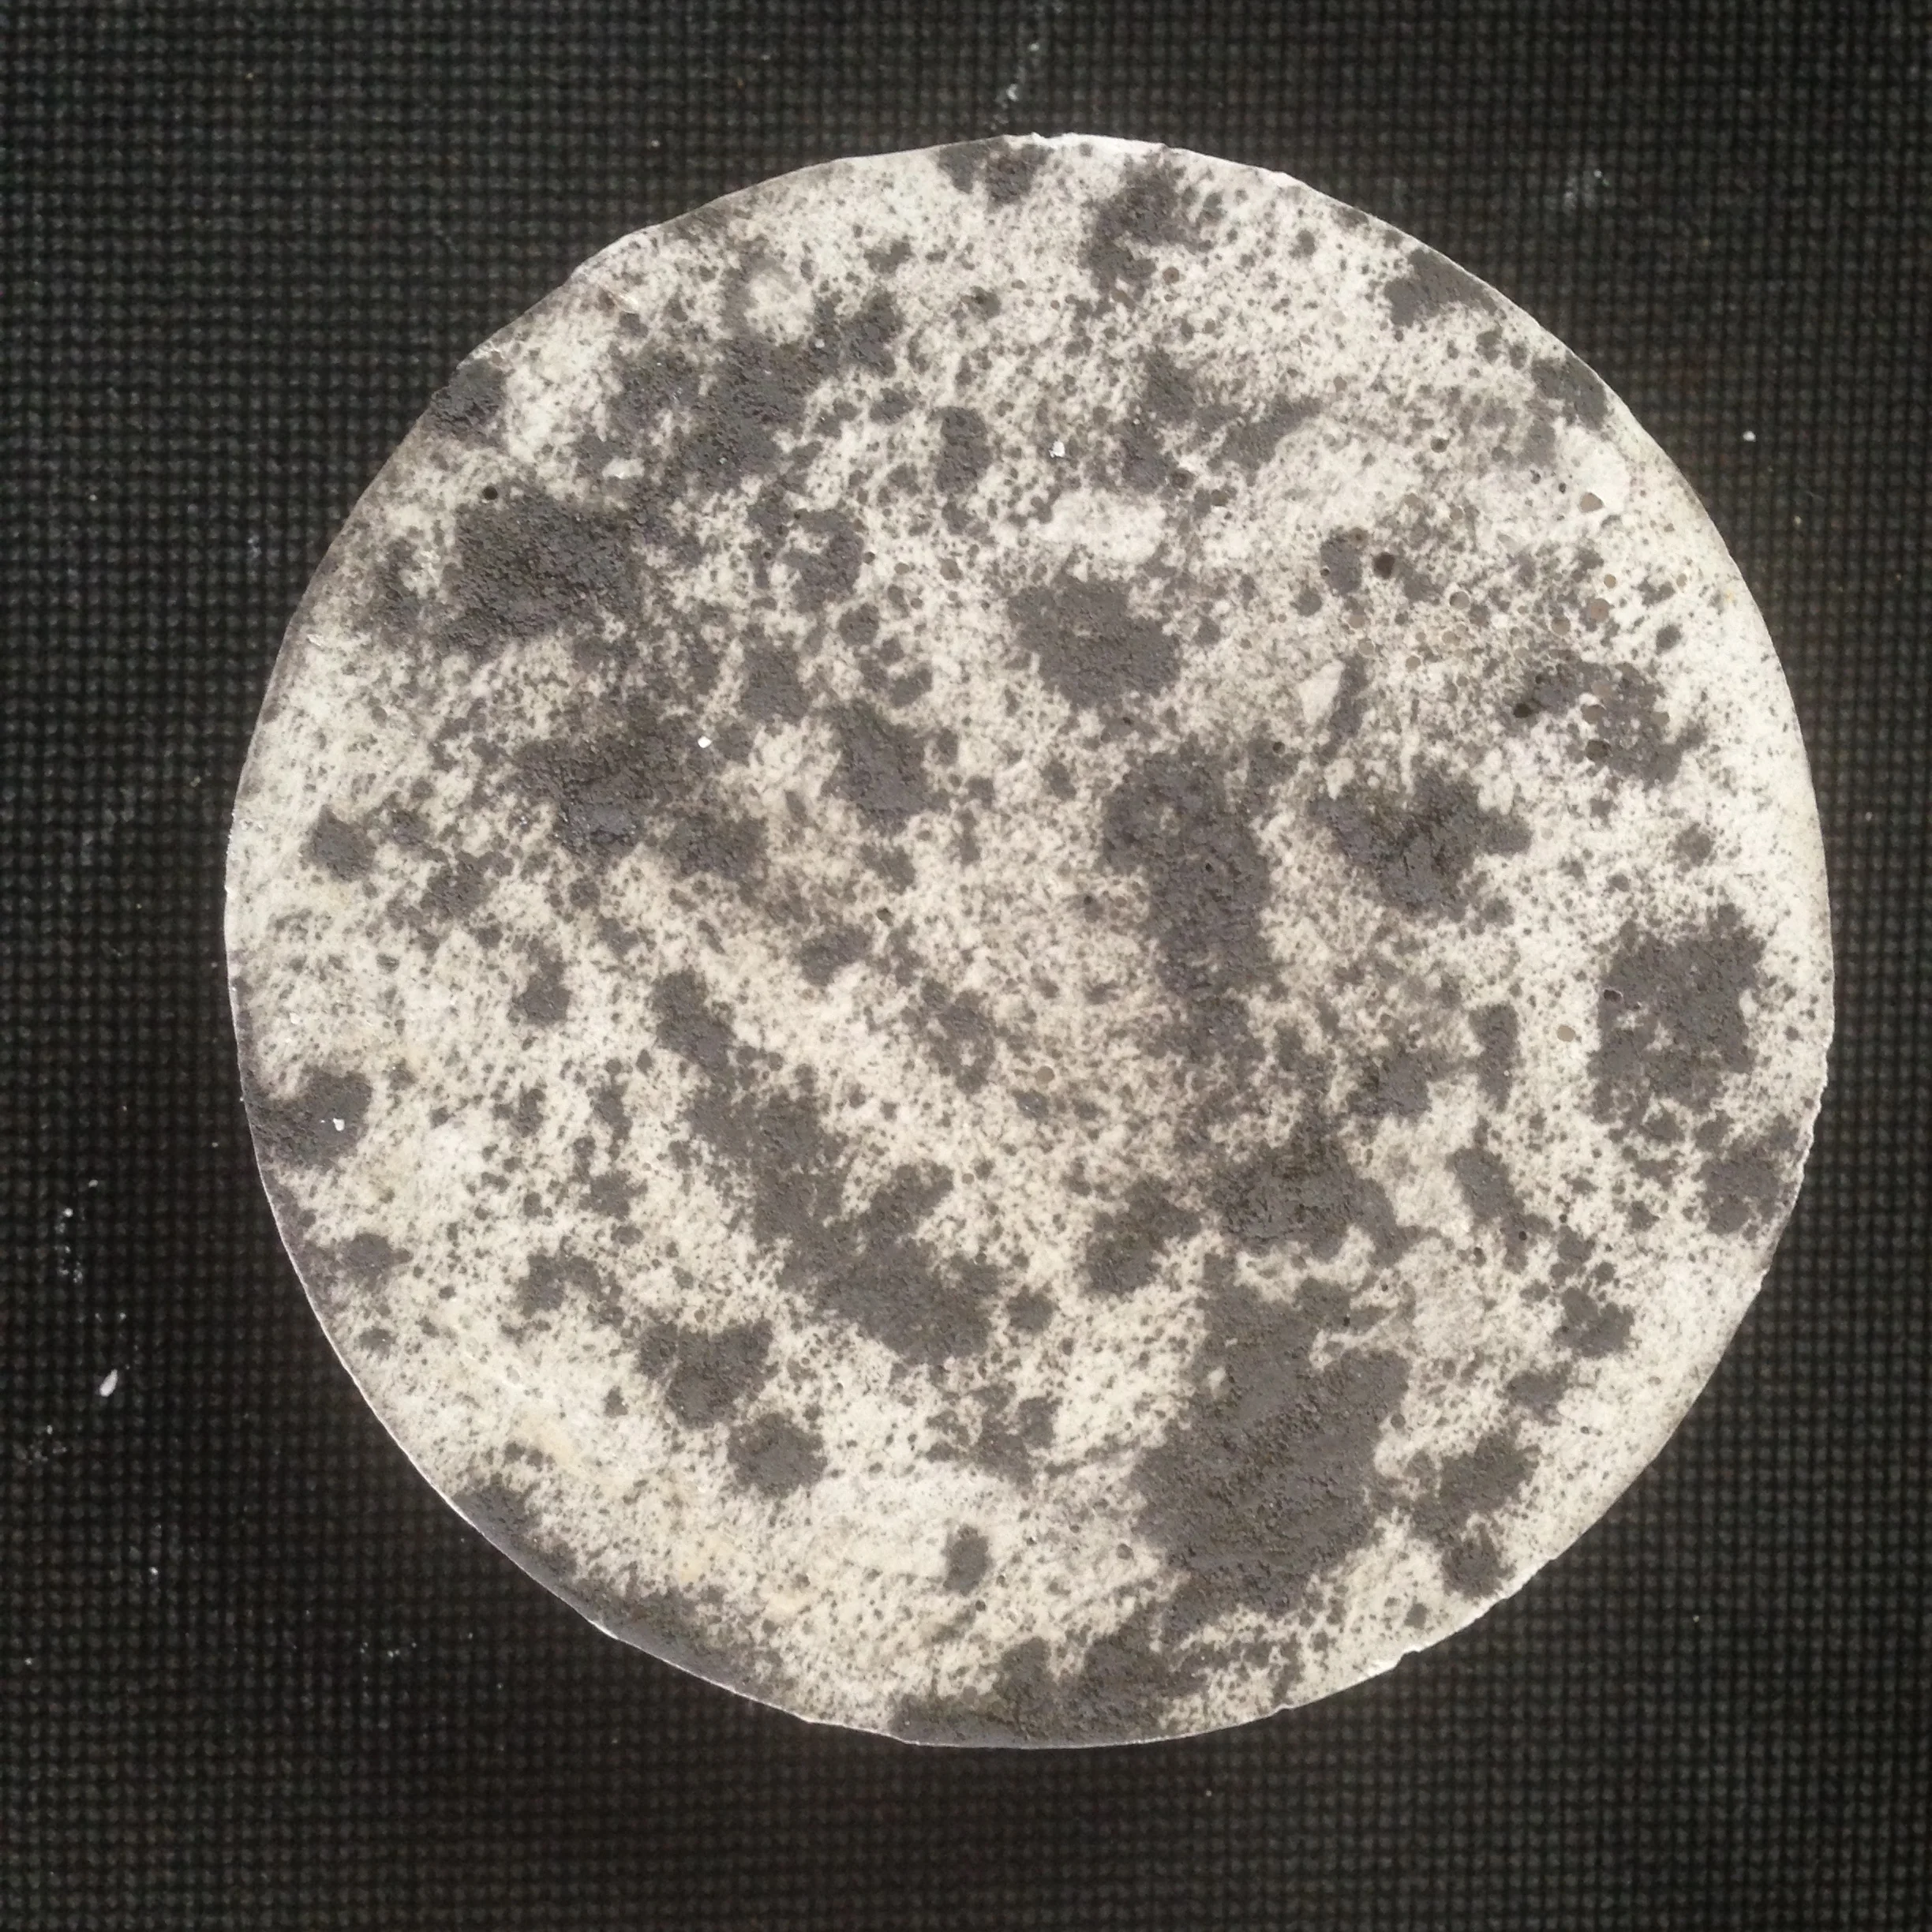
- Try mixing a darker pour (more grout) and blue food colouring.
WEEKTWO

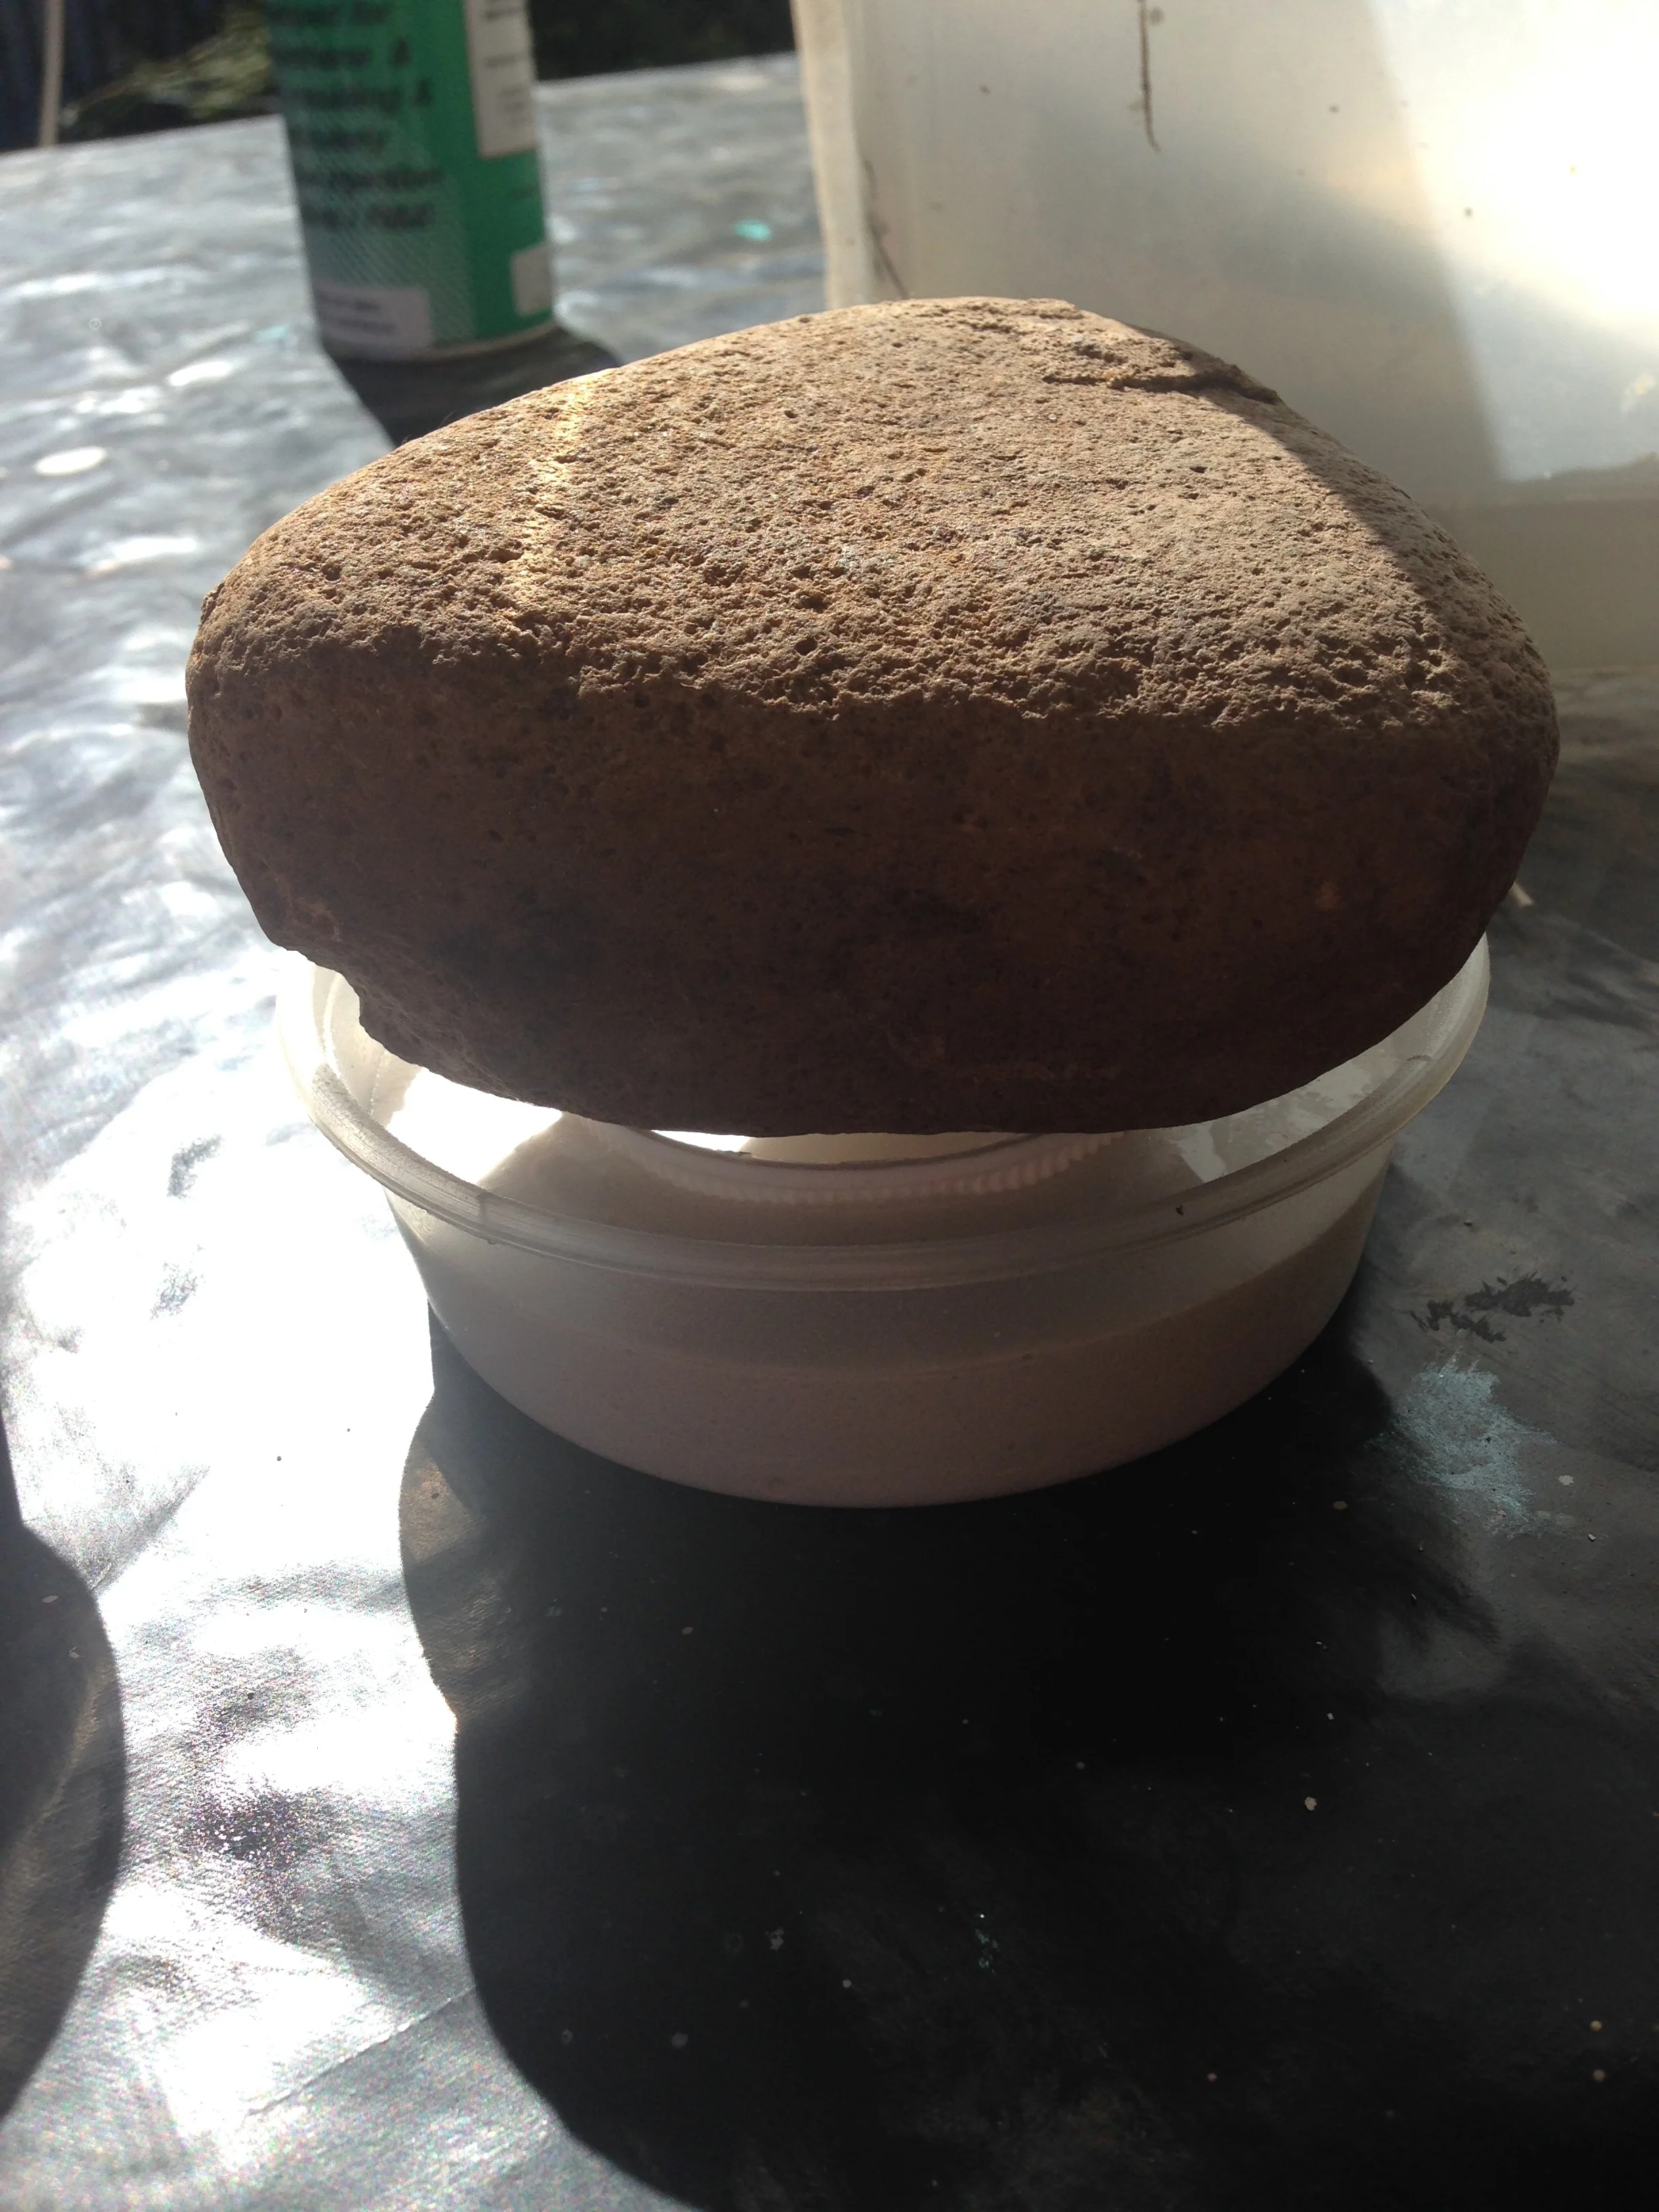
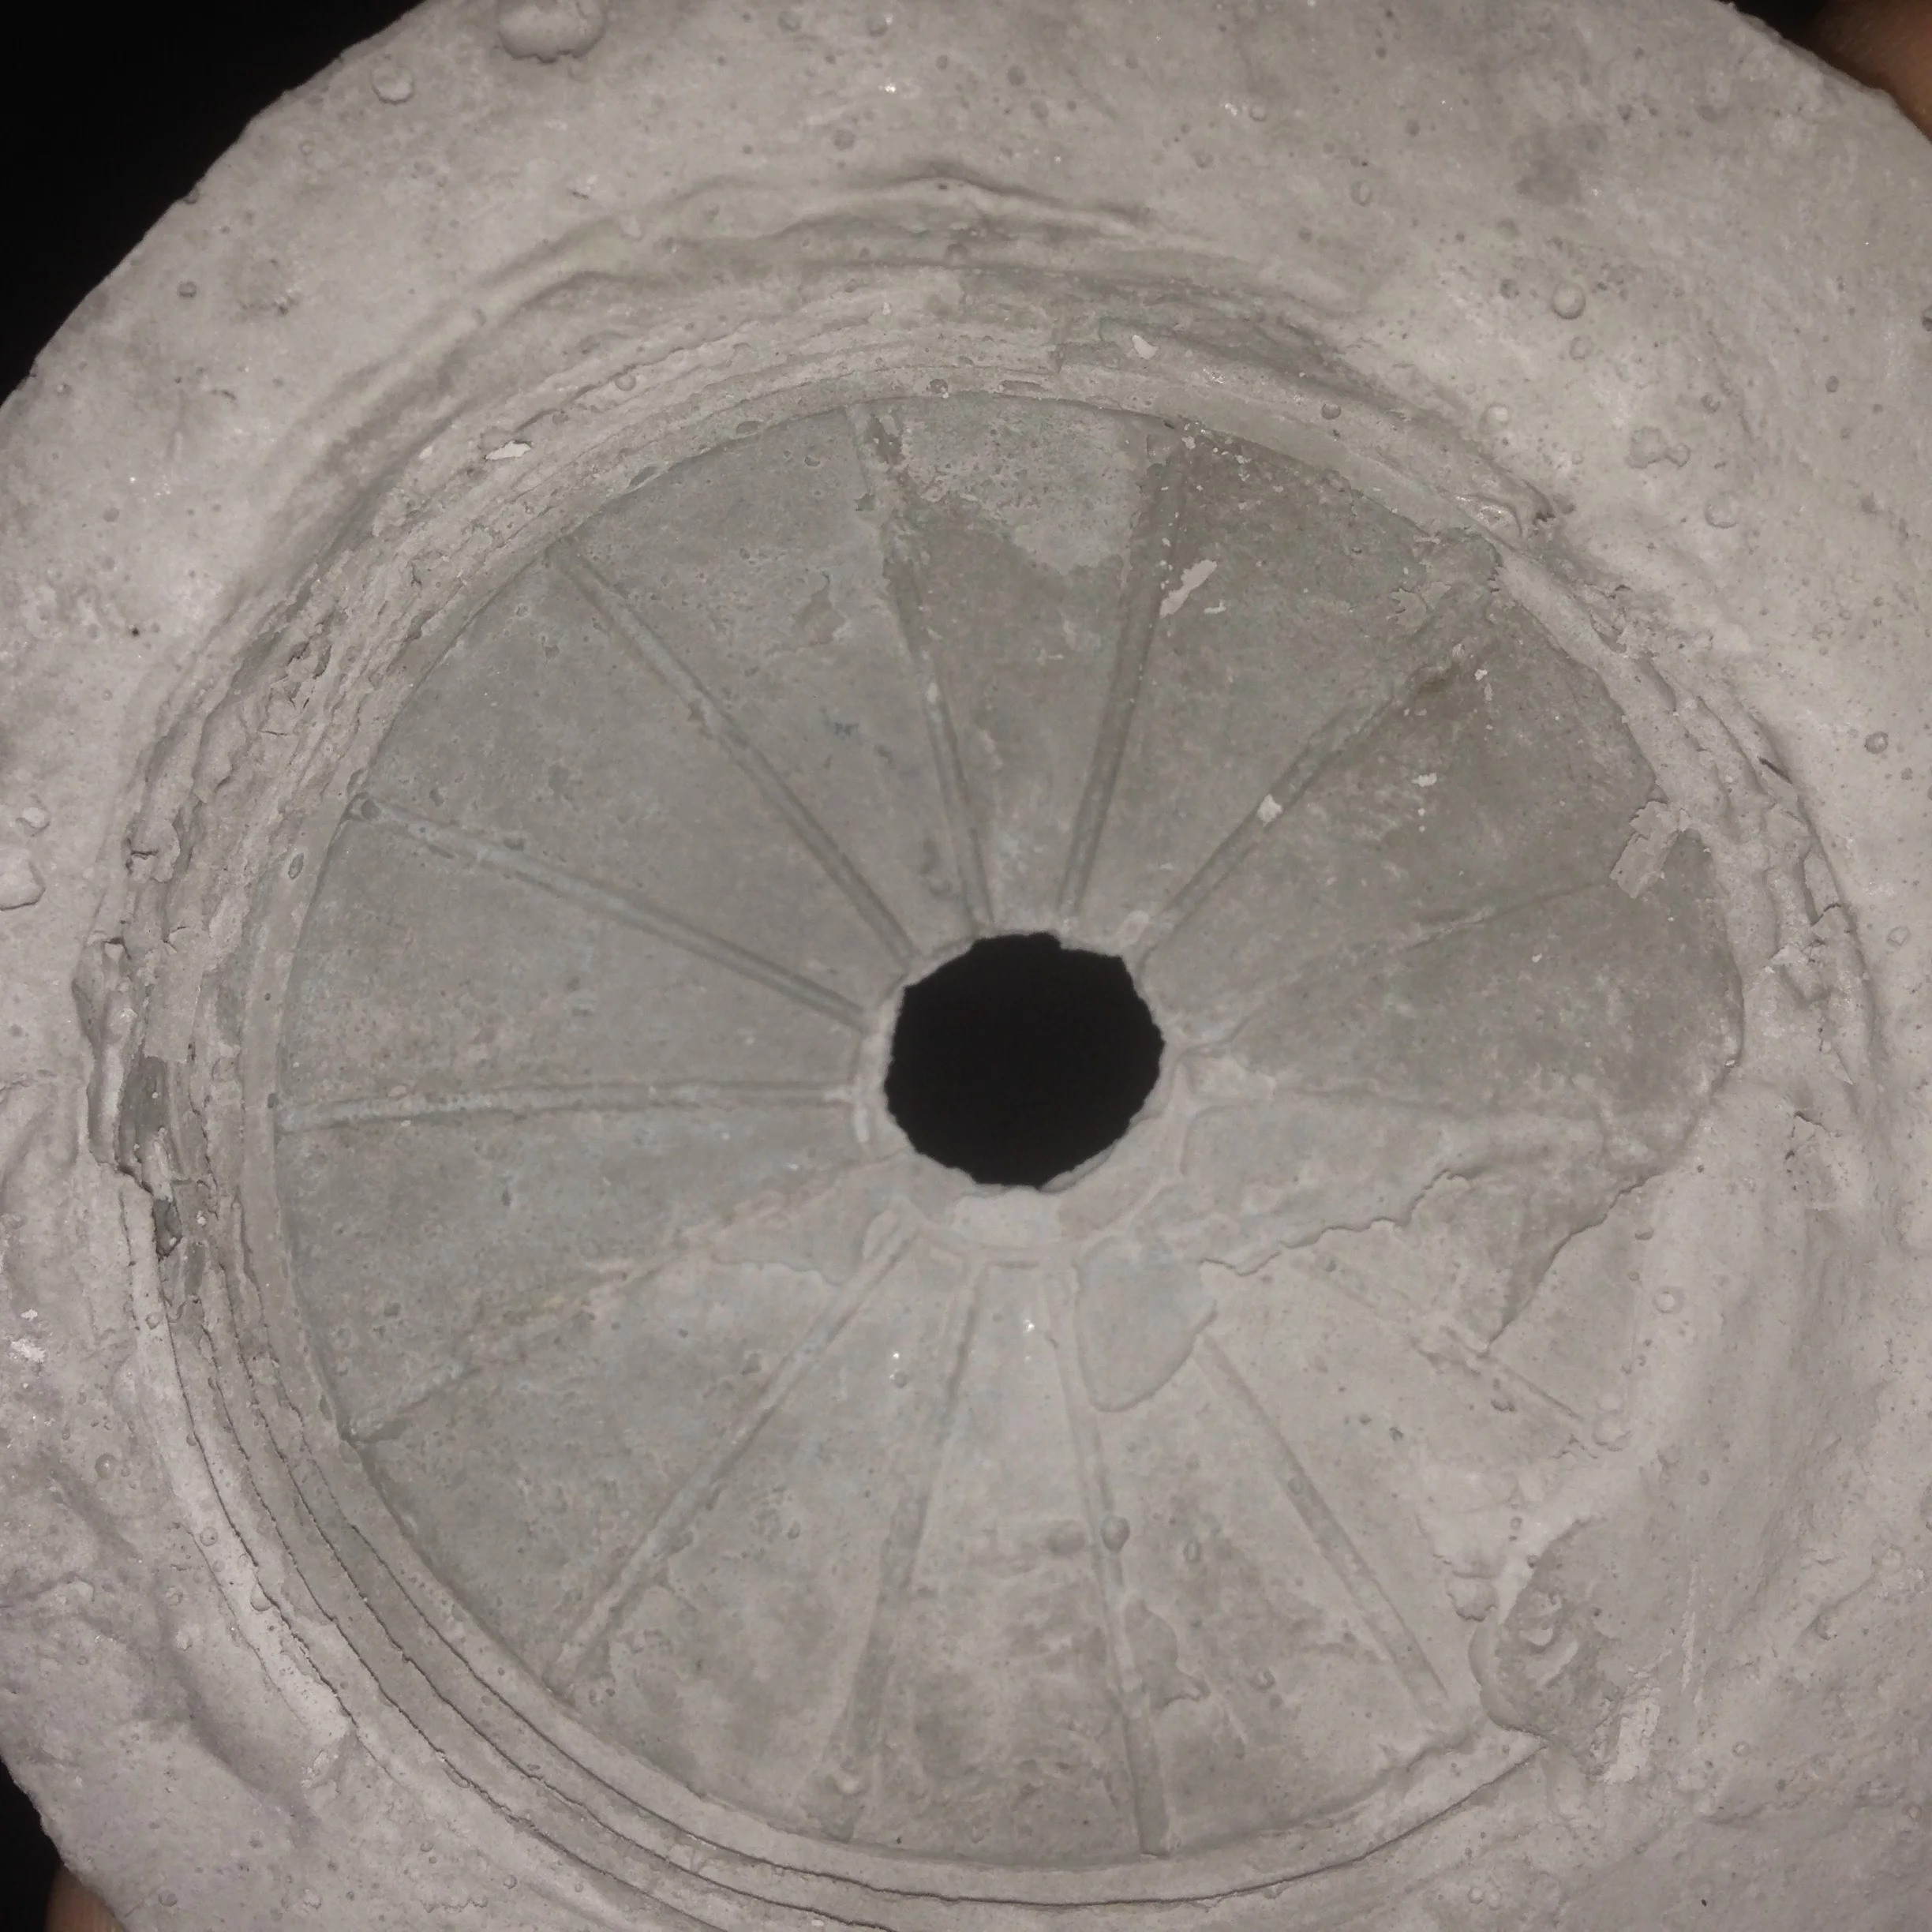
PourTHREE
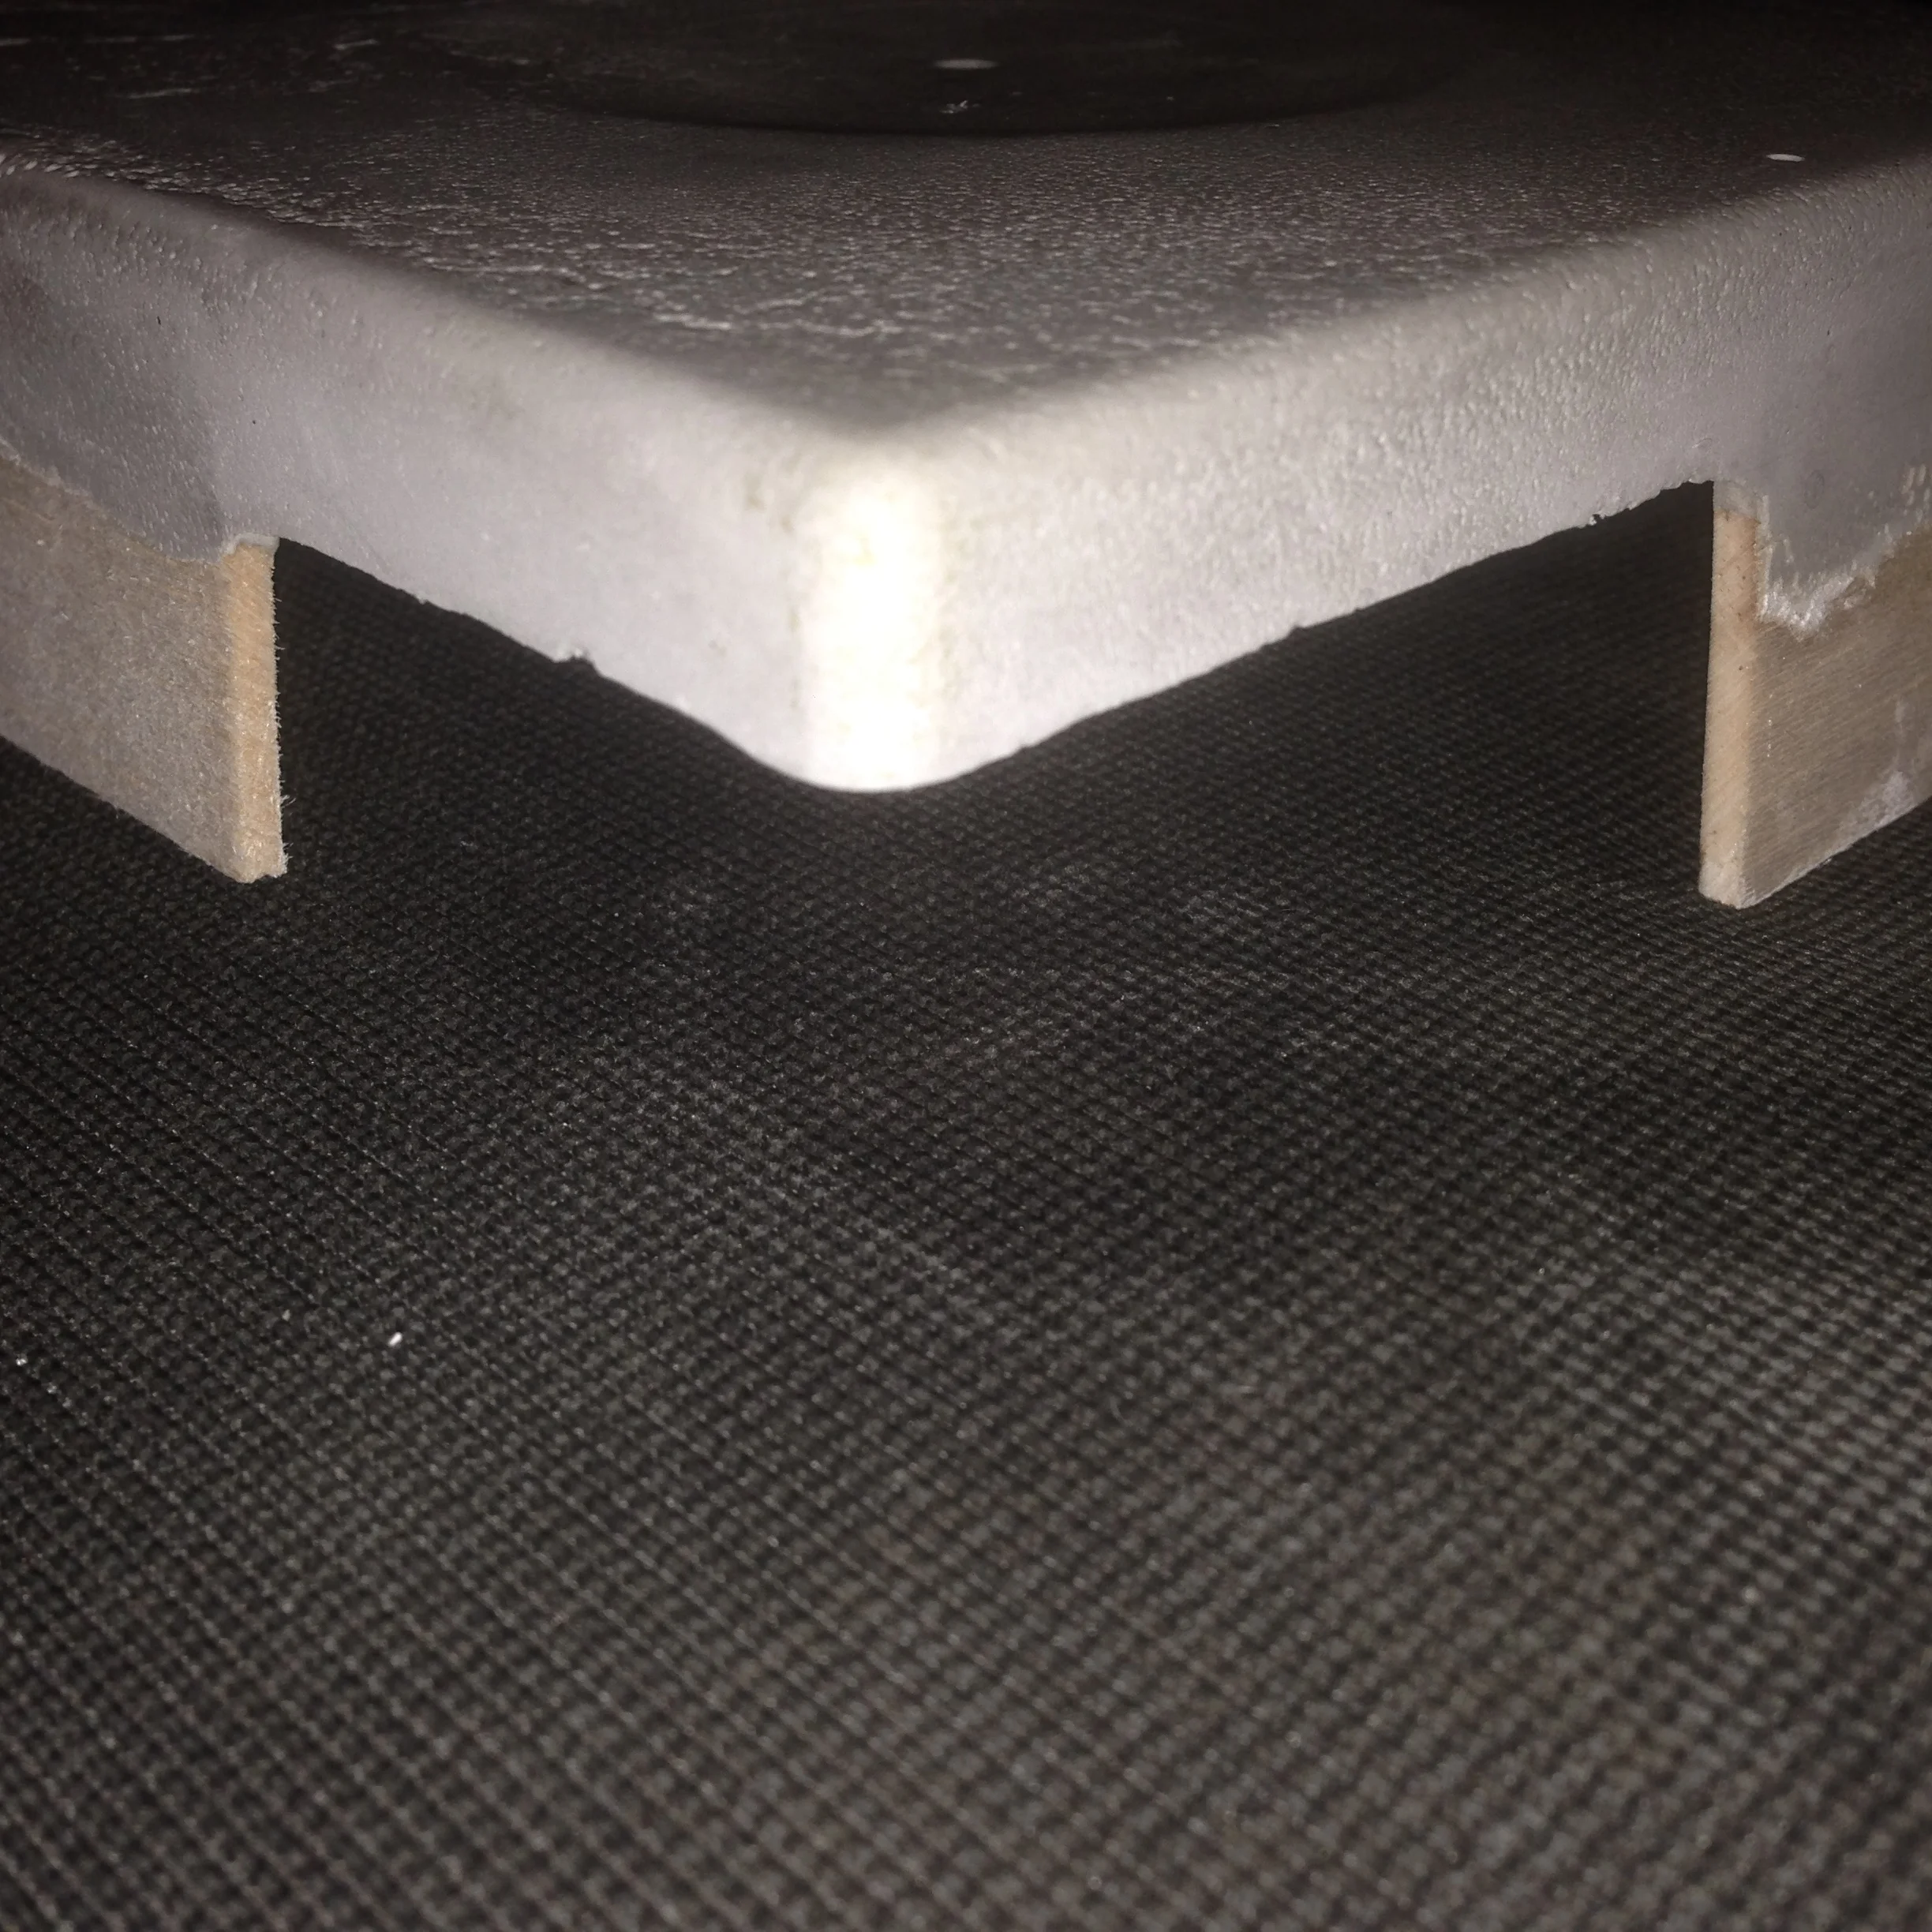
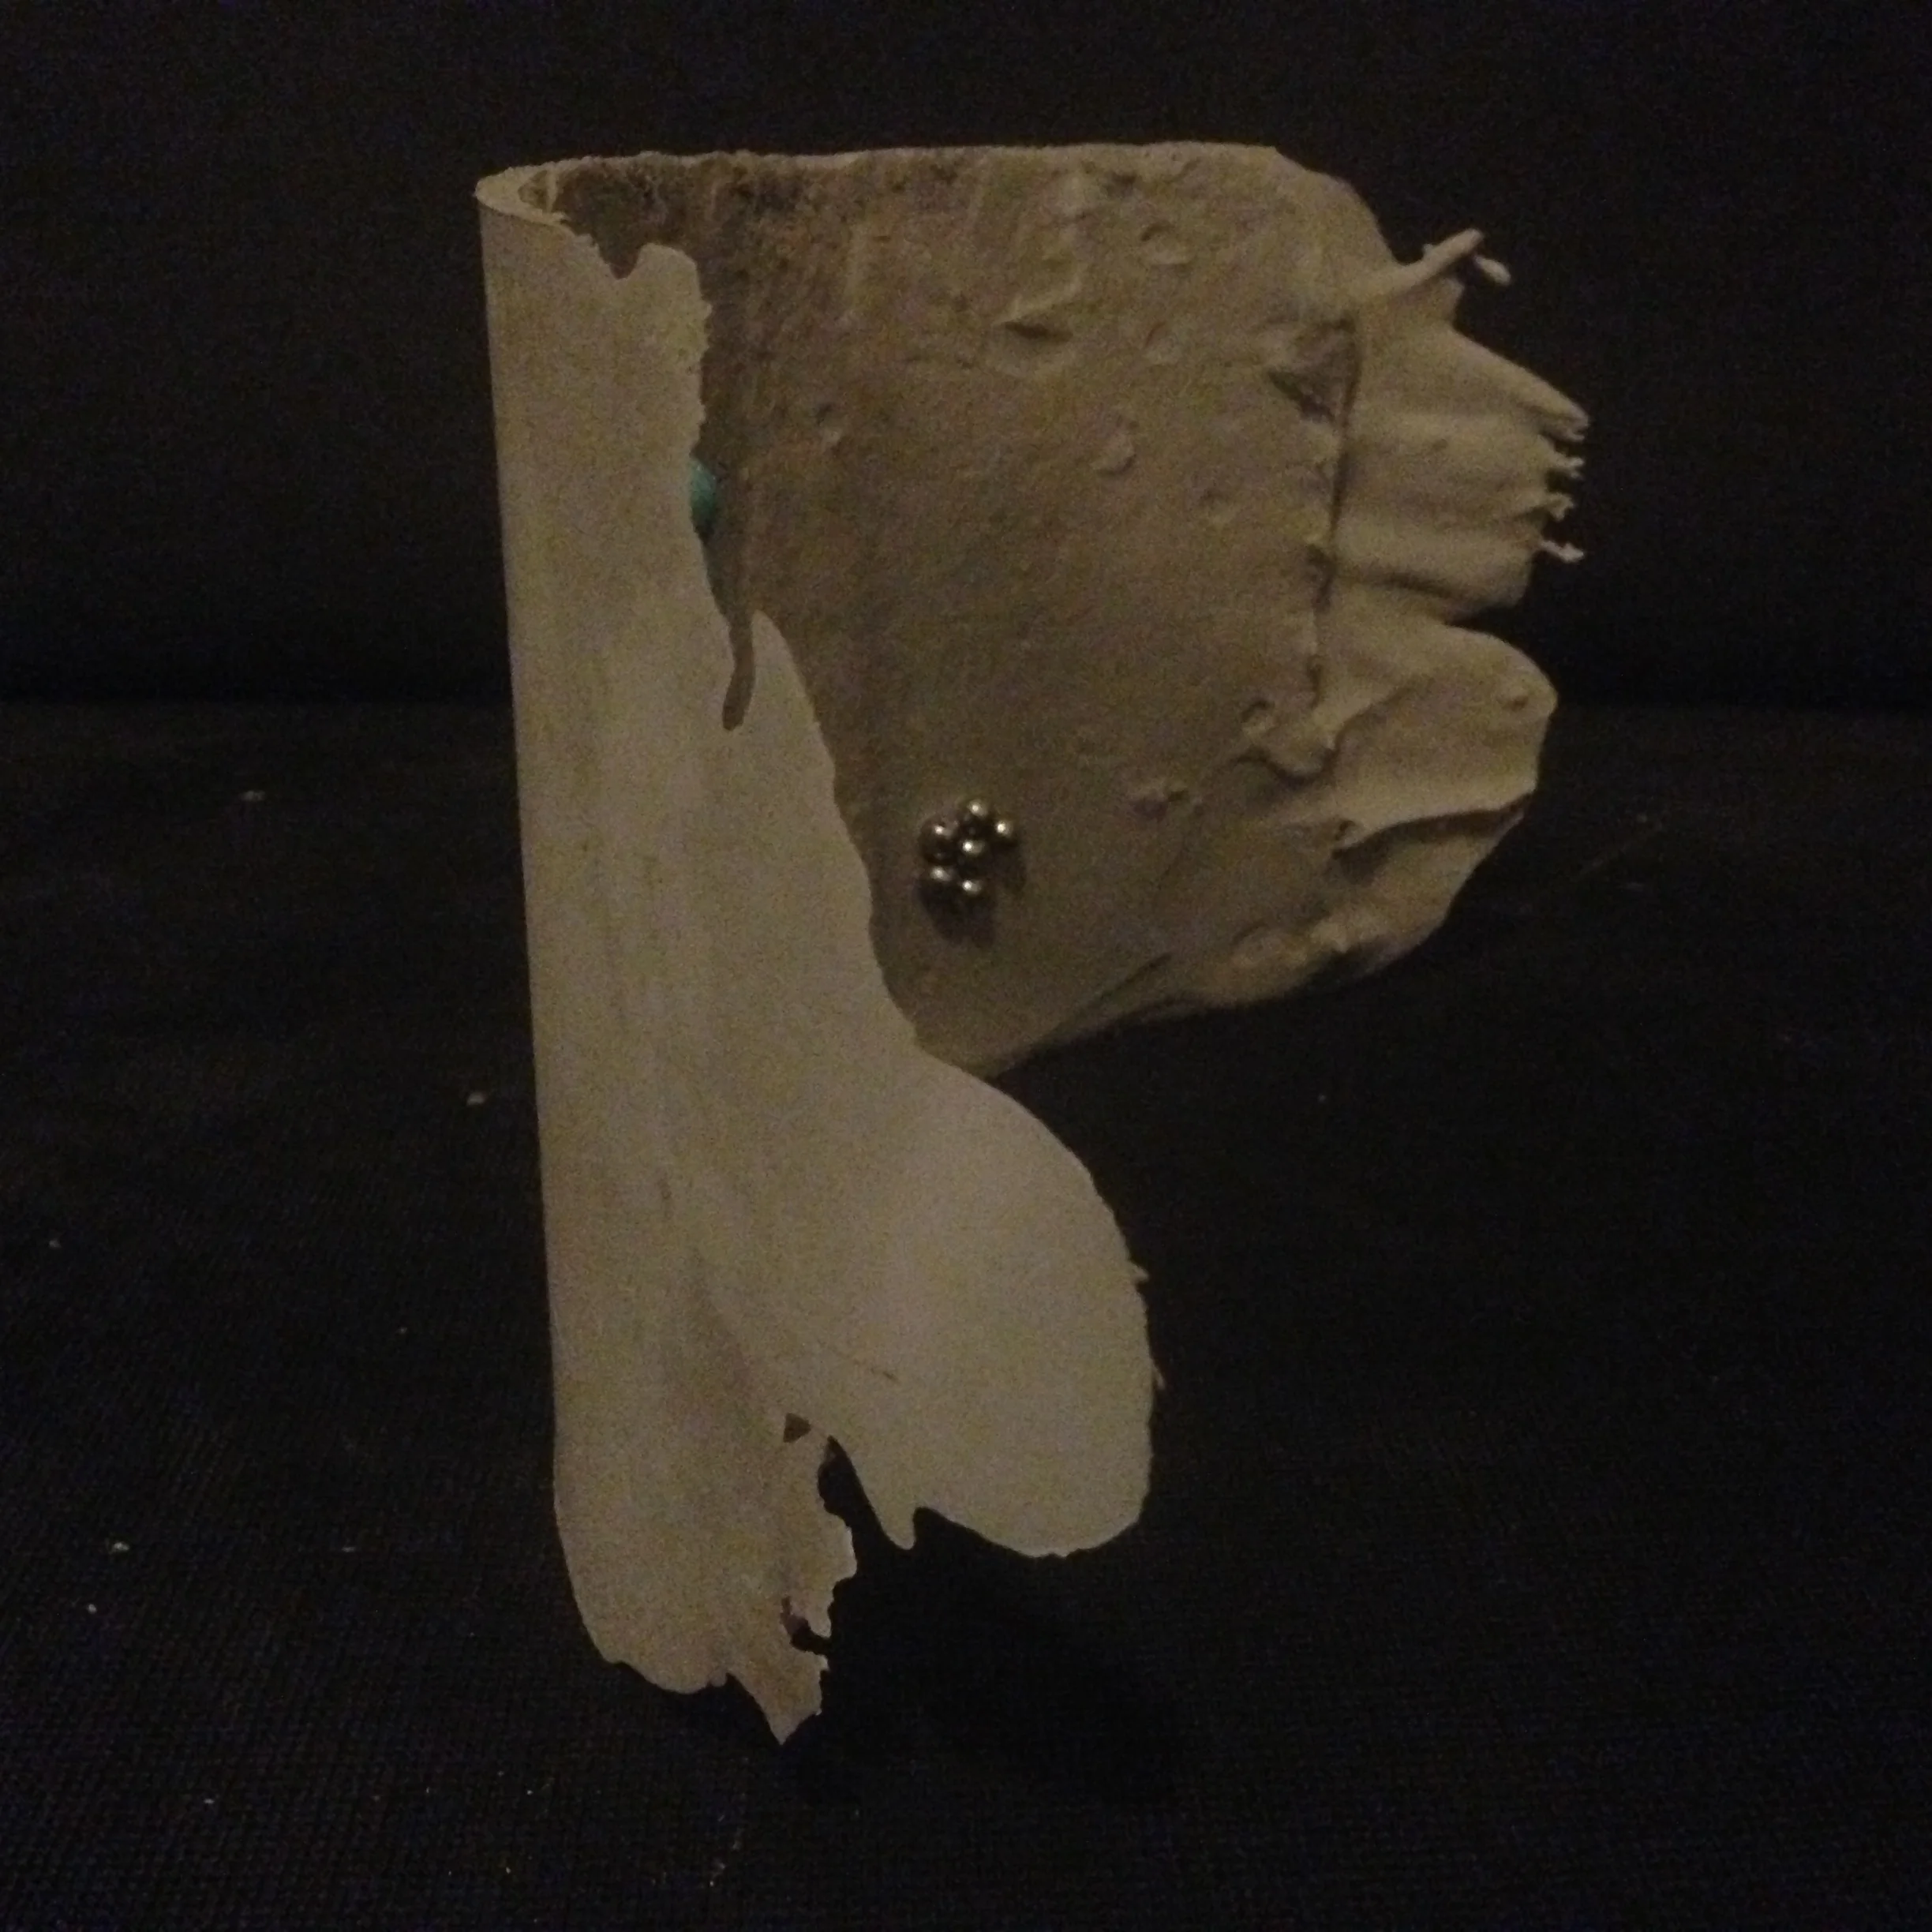
I wanted to make a model of the roof as close as possible to the paper model, for use in Memento, therefore I used a thicker consistency (1:0.5) to try to avoid "pour bubbles" and be in more control.


So... I am so happy with the result! Three reasons: There are literally no bubbles (this is something I discussed with the people I bought the plaster from and worked on through my first two pours), secondly, the shape is perfect, thirdly... did you notice in the video I forgot to put release agent on? Yeah, I did. Can you spot in the video when i realised? I was going to do a lovely thin roof, but when I realised this, thought my only chance of successful release was a fat application of plaster. The relief when it unexpectedly paid off....


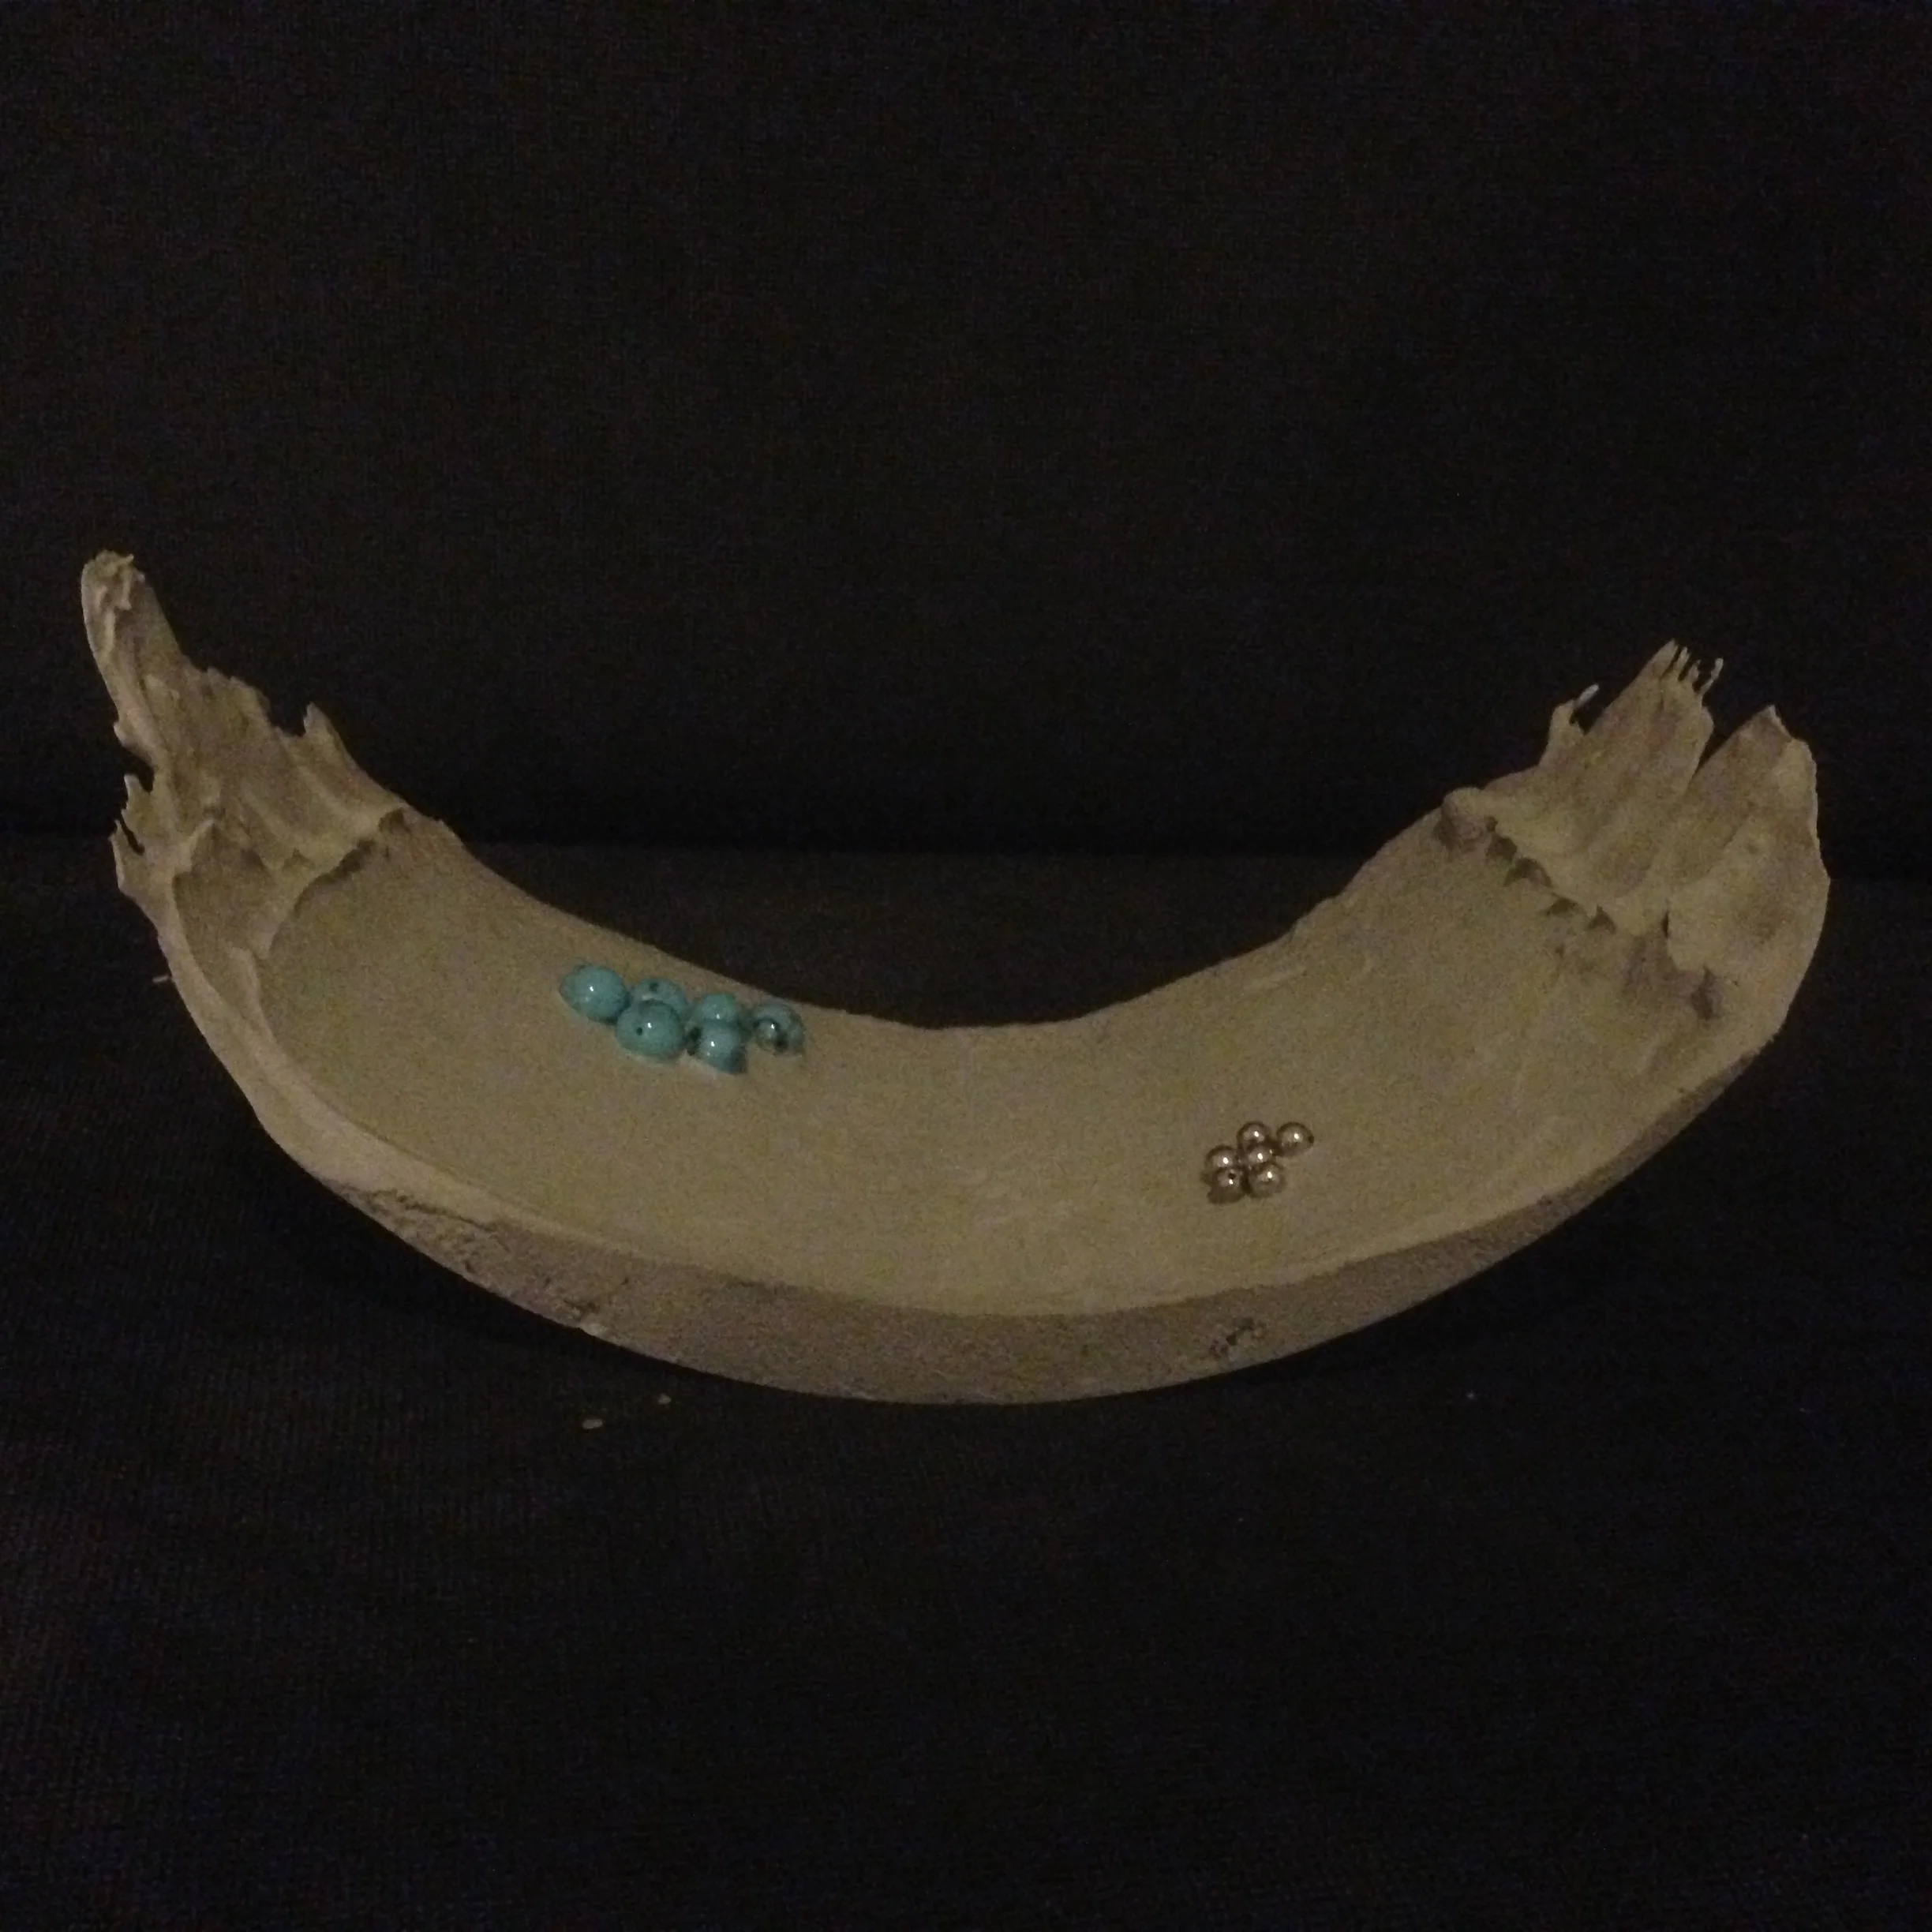
My Team
I supplied all materials for the team pour, however I felt a bit "poured out" so I didn't pour again. My fave team pour: